

How to Prepare Walls & Surfaces for Peel and Stick Wallpaper
How to Prepare Walls & Surfaces for Peel and Stick Wallpaper
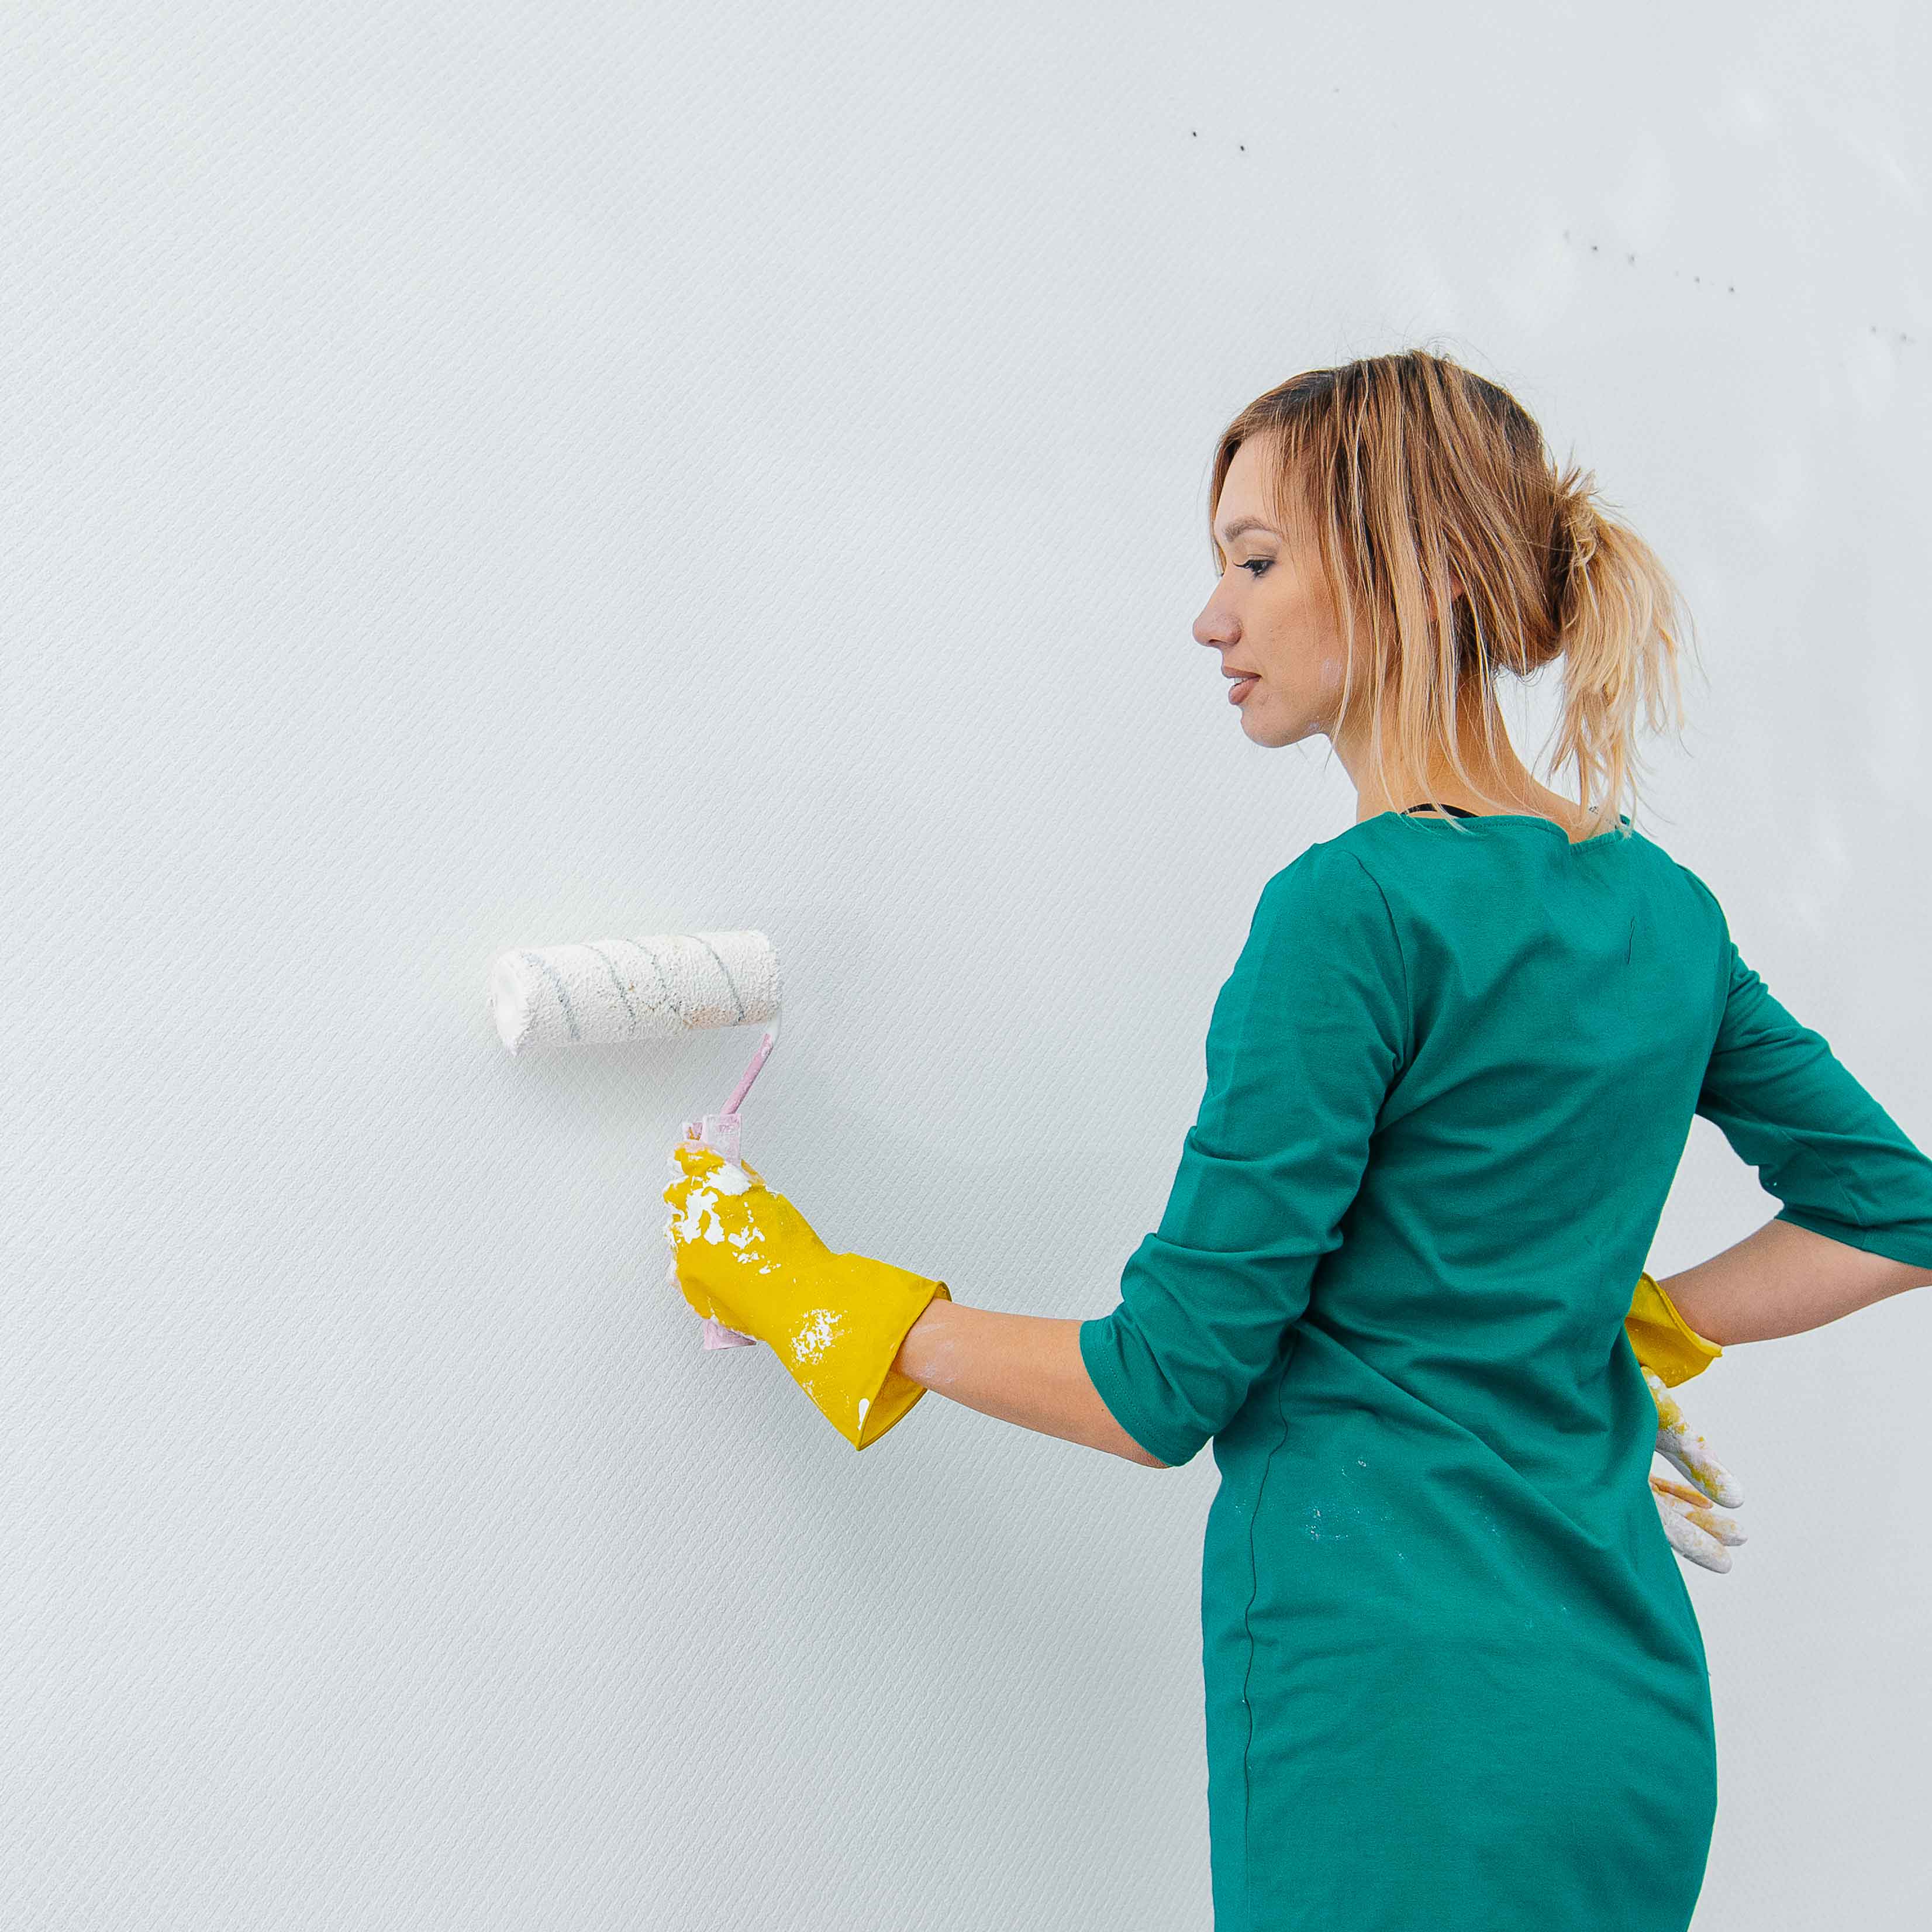
For best results, apply peel-and-stick wallpaper to smooth, clean surfaces. Prepare walls by correcting imperfections with filling and smoothing. Clean surfaces thoroughly to remove dirt and grease. Finish by applying a primer for a smooth and adhesive-ready foundation.
Does prepping walls help wallpaper stay on longer?
Preparing walls before applying wallpaper is crucial for durability. Smoothing and cleaning the surface ensures better adhesion, preventing bubbles or peeling. Removing existing wallpaper, patching holes, and priming create a smooth canvas. This promotes even application, enhances longevity, and prevents future issues, ensuring the wallpaper stays securely in place for years.
Step-By-Step Guide To Wall Prep for Peel and Stick Wallpaper
1. Removing Existing Wallpaper
When deciding whether to wallpaper over existing wallpaper or remove it, several factors come into play. While it is technically possible to apply new wallpaper over old, doing so has potential drawbacks. Existing wallpaper may have imperfections, seams, or air pockets that can affect the new application. Moreover, the added thickness can lead to an uneven surface and compromise adhesion.
To make an informed decision, assess the condition of the current wallpaper and its type. Wallpapering over non-breathable types such as Vinyl may result in trapping moisture which leads to mold. If the existing wallpaper is the paper type and it's in good condition, with no visible defects, and adheres well to the wall, you may consider wallpapering over it. However, if there are signs of peeling, bubbling, or damage, it's advisable to remove the old wallpaper for a clean slate.
Ultimately, the choice depends on the condition of the existing wallpaper and the desired quality of the final result, with careful consideration given to achieving the best aesthetic and structural outcome.

For more info on wallpapering over existing wallpaper, check out our blog post Can You Install Wallpaper Over Wallpaper? | Huggleberry Hill.
2. Evaluating Wall Condition: Identifying Cracks and Imperfections
Wallpaper is best applied over a smooth surface, so before starting the wallpaper installation process, it's crucial to assess your walls for cracks and imperfections. Addressing these issues beforehand ensures a smooth and flawless finish.
Fill any cracks with spackle and sand the surface to create a seamless foundation for the wallpaper. By taking the time to prepare the walls, you enhance the adhesion of the wallpaper and prevent future issues such as visible imperfections or uneven textures.

3. Patching Damages & Removing Imperfections
Addressing wall damage before wallpaper installation involves various techniques and materials. For holes and cracks, use spackle or joint compound to fill them, ensuring a smooth surface. Sand down bumps to create an even texture. When applying wallpaper over tiles, filing grouting grooves to a flat finish is crucial for uniform adhesion. Sandpaper and putty knives are handy tools for these tasks.
Additionally, consider using a primer to create an optimal surface for wallpaper adherence. This meticulous preparation ensures that the wallpaper application is flawless, providing a polished and long-lasting result. Each step contributes to achieving a seamless and professional finish on your walls.

4. Cleaning and Prepping the Surface
Removing dust, dirt, and contaminants from a wall before wallpapering is crucial for ensuring a successful and long-lasting installation. These particles can create uneven surfaces, affecting the wallpaper's adhesion and smoothness. Dust and dirt act as barriers, hindering the wallpaper glue from forming a strong bond with the wall. This weak adhesion may lead to peeling or bubbling over time. Contaminants can also cause the wallpaper to appear uneven or bumpy, detracting from the desired aesthetic. By thoroughly cleaning the wall, you create an ideal canvas that promotes proper adhesion, resulting in a smooth and professional finish. This preparation not only enhances the visual appeal but also contributes to the durability and longevity of the wallpaper, preventing issues that may arise from an improperly cleaned surface.

5. Priming The Walls for Optimal Adhesion
Primer plays a crucial role in peel-and-stick wallpaper installation as it ensures a strong and lasting bond between the wall and the adhesive backing of the wallpaper. Applying primer creates a smooth and uniform surface, preventing imperfections or inconsistencies that could impact adhesion. It also seals the wall, enhancing the grip of the peel-and-stick adhesive, reducing the risk of peeling or detachment over time. Additionally, primer promotes better durability, protecting the wall from potential damage and providing a stable foundation for the wallpaper. In essence, primer is essential for optimizing the adhesion process, contributing to a seamless and professional-looking peel-and-stick wallpaper installation.

How to Prepare Walls & Surfaces for Huggleberry Hill’s Peel and Stick Wallpaper
Versatile Application:
Huggleberry Hill's peel-and-stick wallpaper is not limited to smooth surfaces; its exceptional adhesion allows it to bond effectively with various materials, including walls, wood, tile, glass, and metal. Designed to adhere even to very lightly textured surfaces, showcasing its adaptability and suitability for a wide range of settings.
Luxurious Texture and Concealing Abilities:
The wallpaper boasts a luxurious thick texture that not only adds aesthetic appeal but also serves a functional purpose. This thick texture acts as a camouflage, effectively hiding minor imperfections on the surface, providing a polished and flawless finish.
Correct Major Damage to Walls:
Cracks and holes should be carefully filled and smoothed before the wallpaper application to ensure a seamless look.
Smooth Heavily Textured Surfaces:
Sanding and smoothing heavily textured surfaces before wallpaper application is a necessity. Failure to address textured surfaces may impact the final aesthetic and affect adhesion and longevity of the wallpaper.
Clean the Surface:
Surfaces should be free of dirt, grease, or grime, and cleaning prior to application can be achieved using a dry cloth or soap and water where necessary.
Primer for Optimal Results:
Use a wallpaper primer as a final preparation step before installation. The primer ensures the surface is not only clean but also smooth, enhancing the adhesion of Huggleberry Hill's peel-and-stick wallpaper and optimizing overall results.
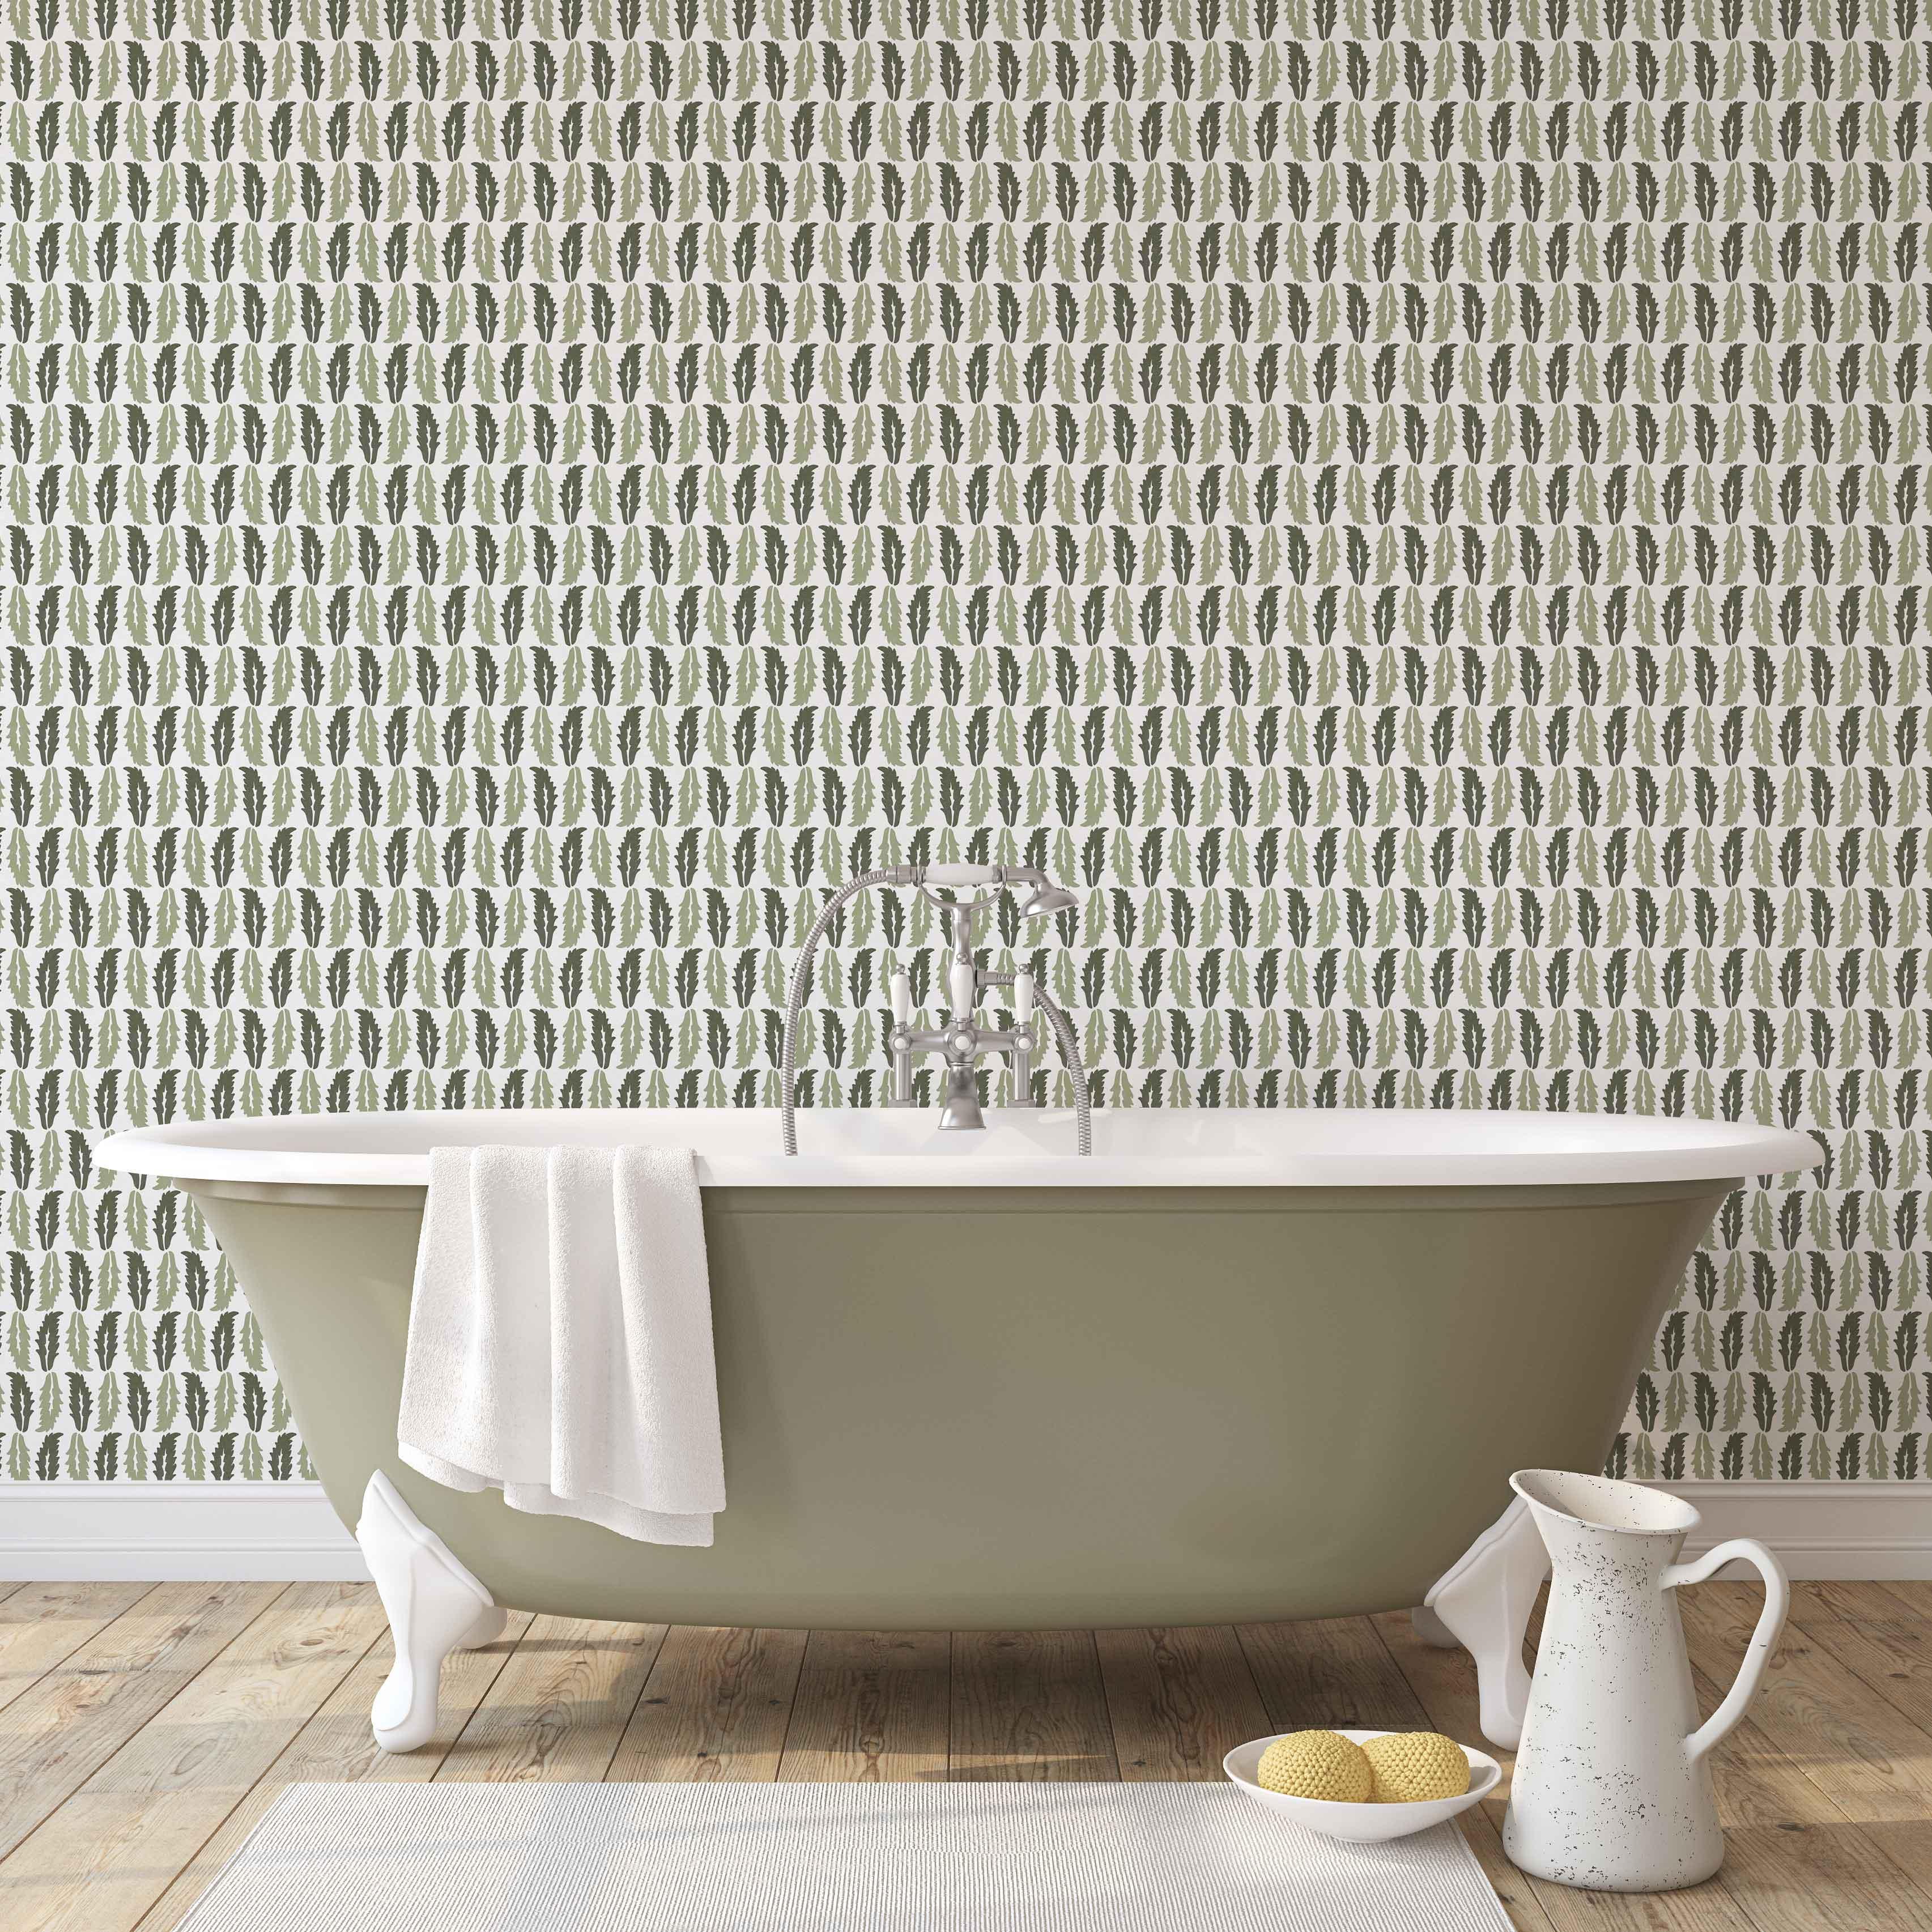
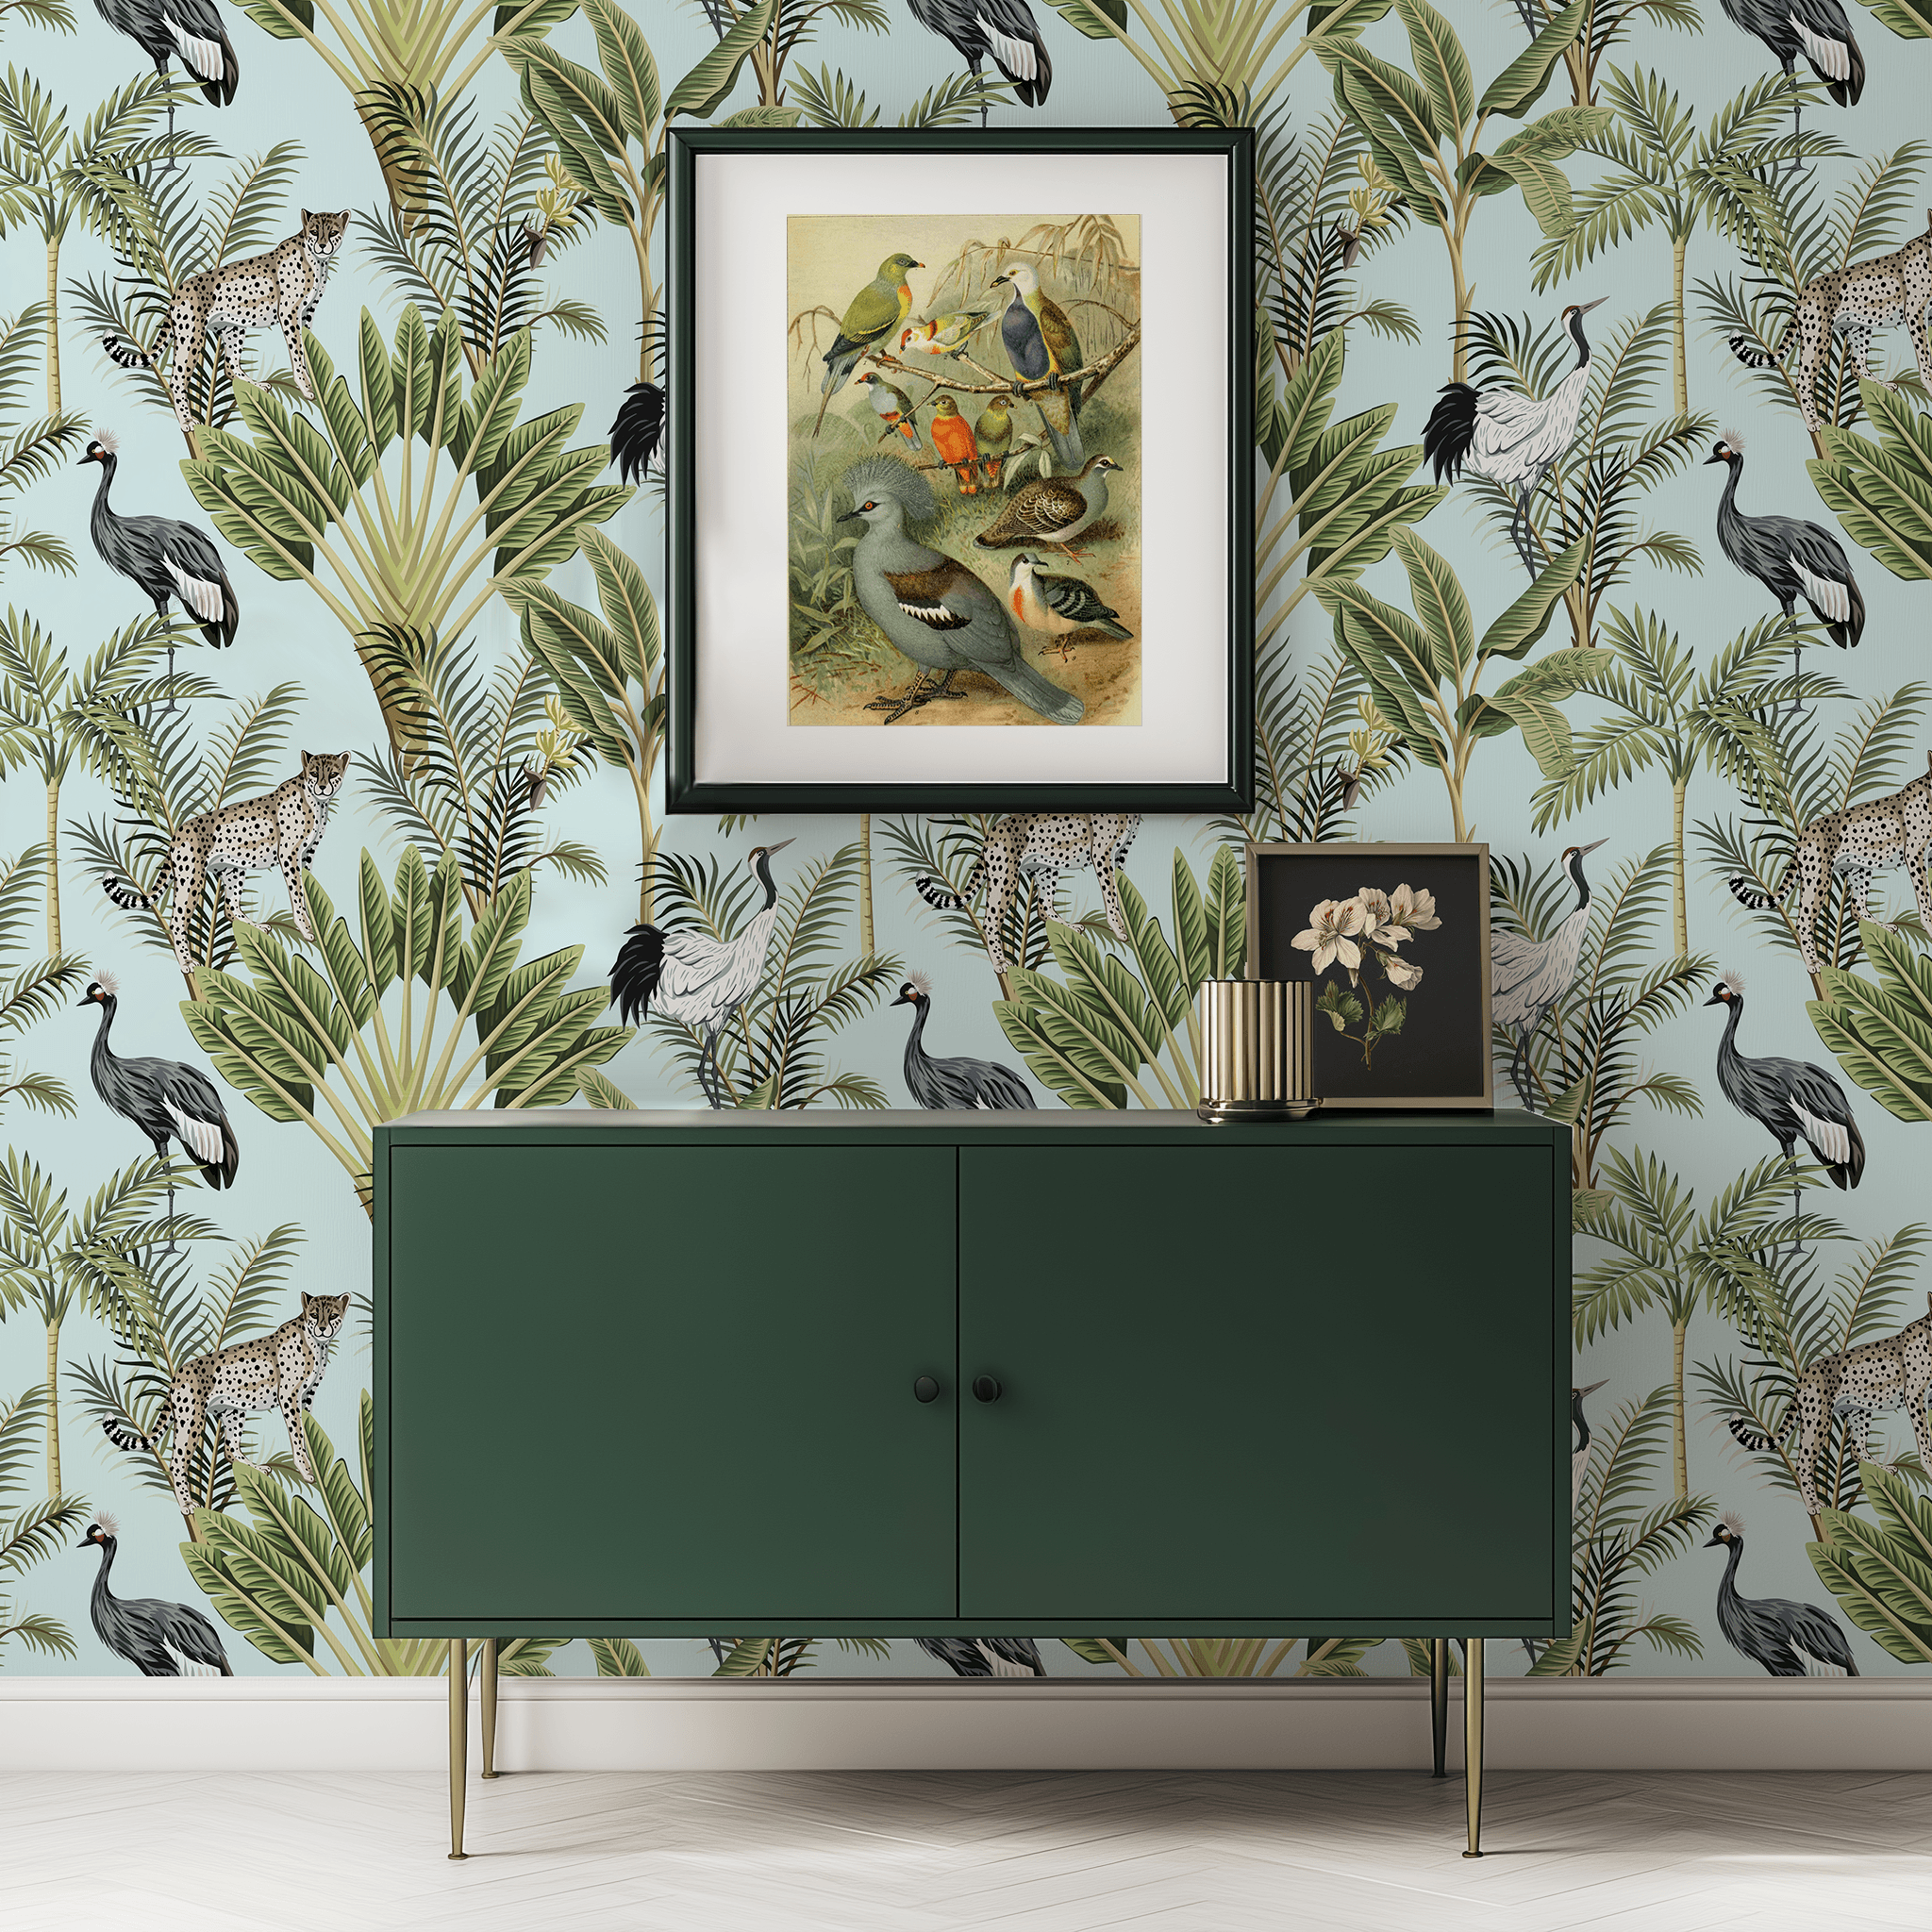
How to Install Peel & Stick Wallpaper On Prepped Walls
Select your preferred peel-and-stick wallpaper design, follow our straightforward installation process, and witness your space transform effortlessly. Bid farewell to dull walls and welcome a rejuvenated, lively, and distinctly personalized environment, all achieved effortlessly!
1. Find a Straight Starting Point:
Initiate the installation by identifying a level spot on the wall to ensure a straight application, preventing crooked angles.
2. Peel Off the Backing:
Begin the process by peeling approximately 10 inches (20 centimeters) of the paper backing from the top of the wallpaper panel.
3. Stick It On the Wall:
Place the wallpaper at the top of the wall, aligning it with the identified level spot. Gently smooth it down from the top, using a wallpaper smoother in 10-inch (20-centimeter) sections. Gradually peel off more backing to avoid air bubbles and facilitate repositioning within 24 hours if needed.
4. Smooth It Out:
Use a wallpaper smoother to achieve a polished finish and eliminate any air bubbles.
5. Add the Next Panel:
Peel-and-stick wallpaper doesn't require overlapping. Place the second panel alongside the edge of the first, not on top of it.
6. Repeat the Process:
Continue with steps 1-5 until the entire wall is covered.
7. Trim Excess Material:
Once all panels are up, trim excess material at the bottom of each panel for a level look. Remember to cut around light switches and sockets.
8. Give It a Final Smooth:
Ensure a secure bond by using a clean, soft cloth to give the wallpaper a final smoothing. Repeat after 2 days and once more after 2 weeks to ensure it stays securely in place.
For a full guide on how to install peel-and-stick wallpaper, see our dedicated Installation and Care Guide.