How to Install Peel-and-Stick Wallpaper - a Beginner-Friendly Guide
1. Choose the Right Spot
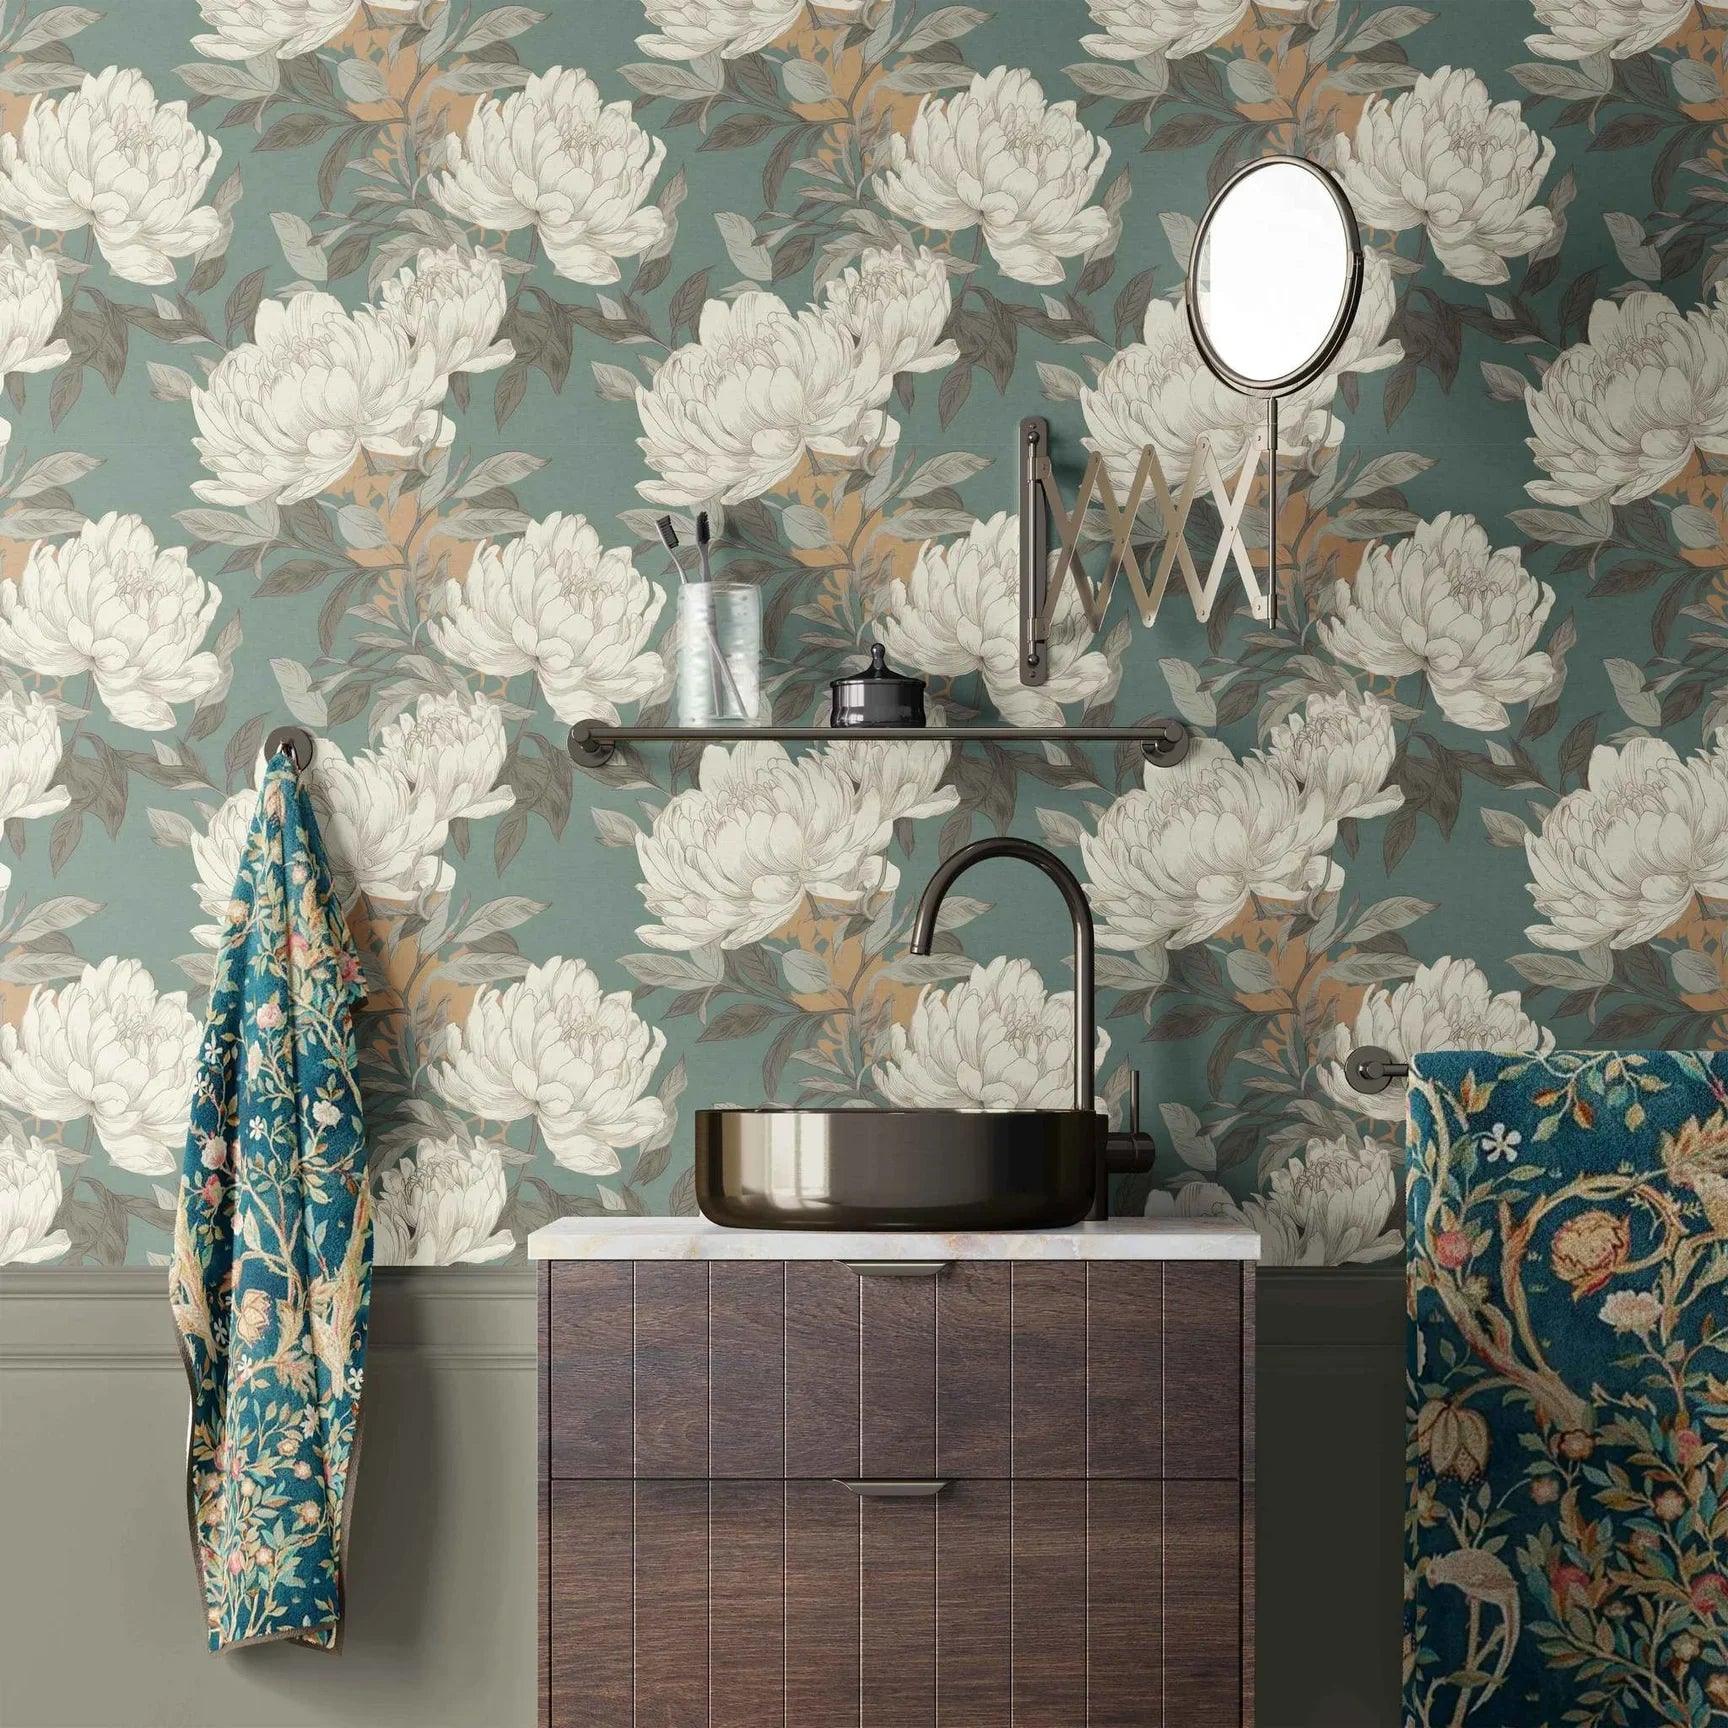
Peel-and-stick wallpaper is the perfect choice for enhancing the interior of your home with style and convenience. Designed for indoor use, it's a versatile solution that can transform any space, from kitchens to bathrooms, with ease. When installing peel-and-stick wallpaper, it's essential to choose an ideal location, avoiding direct exposure to sources of running water, flame, and sunlight sources. This ensures a long-lasting, vibrant appearance that will keep your home looking fresh and stylish.
Find Your Perfect Match
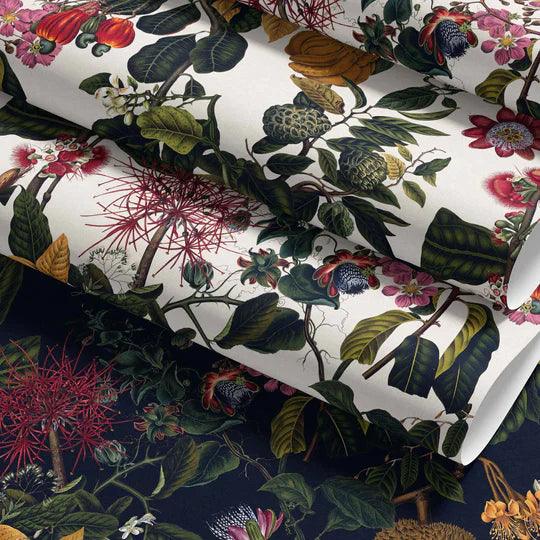
Explore our extensive range of wallpaper designs to find the perfect one for you! Our samples provide you with the opportunity to identify the ideal match for your personal style and living space, enabling you to make a confident decision before investing in full panels.
2. Check Your Walls and Prepare the Surface
For the best results when installing peel-and-stick wallpaper, apply it to smooth walls, as it might not stick as well on textured surfaces, and the texture could peek through.
Before you dive into decorating with peel-and-stick wallpaper, make sure your walls are in tip-top shape – flat and flaw-free. Fill in any holes and smooth out any bumps to keep the wallpaper looking its best.
Give your walls some extra love by giving them a good rub down and cleaning, especially if they tend to get a bit dirty or greasy.
And don't forget to take off any wall sockets and light switches – they'll appreciate a little break while you work your decorating magic!
3. Prime Your Walls
For a smoother experience when you install peel-and-stick wallpaper, it's important to use a wallpaper primer, especially on fresh drywall. You can find wallpaper primers at your nearby DIY store, like Roman PRO-977 Ultra Prime®.
Priming your walls before you start will give your wallpaper a solid surface to stick to and make positioning and adhesion a breeze. This step is especially handy for renters, as it significantly reduces the risk of any wall damage when it's time for removal. Your walls will thank you for the extra TLC!
4. Get Your Wallpapering Tools Ready
You can install peel-and-stick wallpaper with only basic tools for a hassle-free application. You will need the following tools to apply peel-and-stick wallpaper:
- A sharp cutting blade
- A tape measure or laser level
- A Wallpaper smoother or squeegee
- A straight edge or metal ruler
- A ladder
- Clean and dry hands
Endless DIY Possibilities
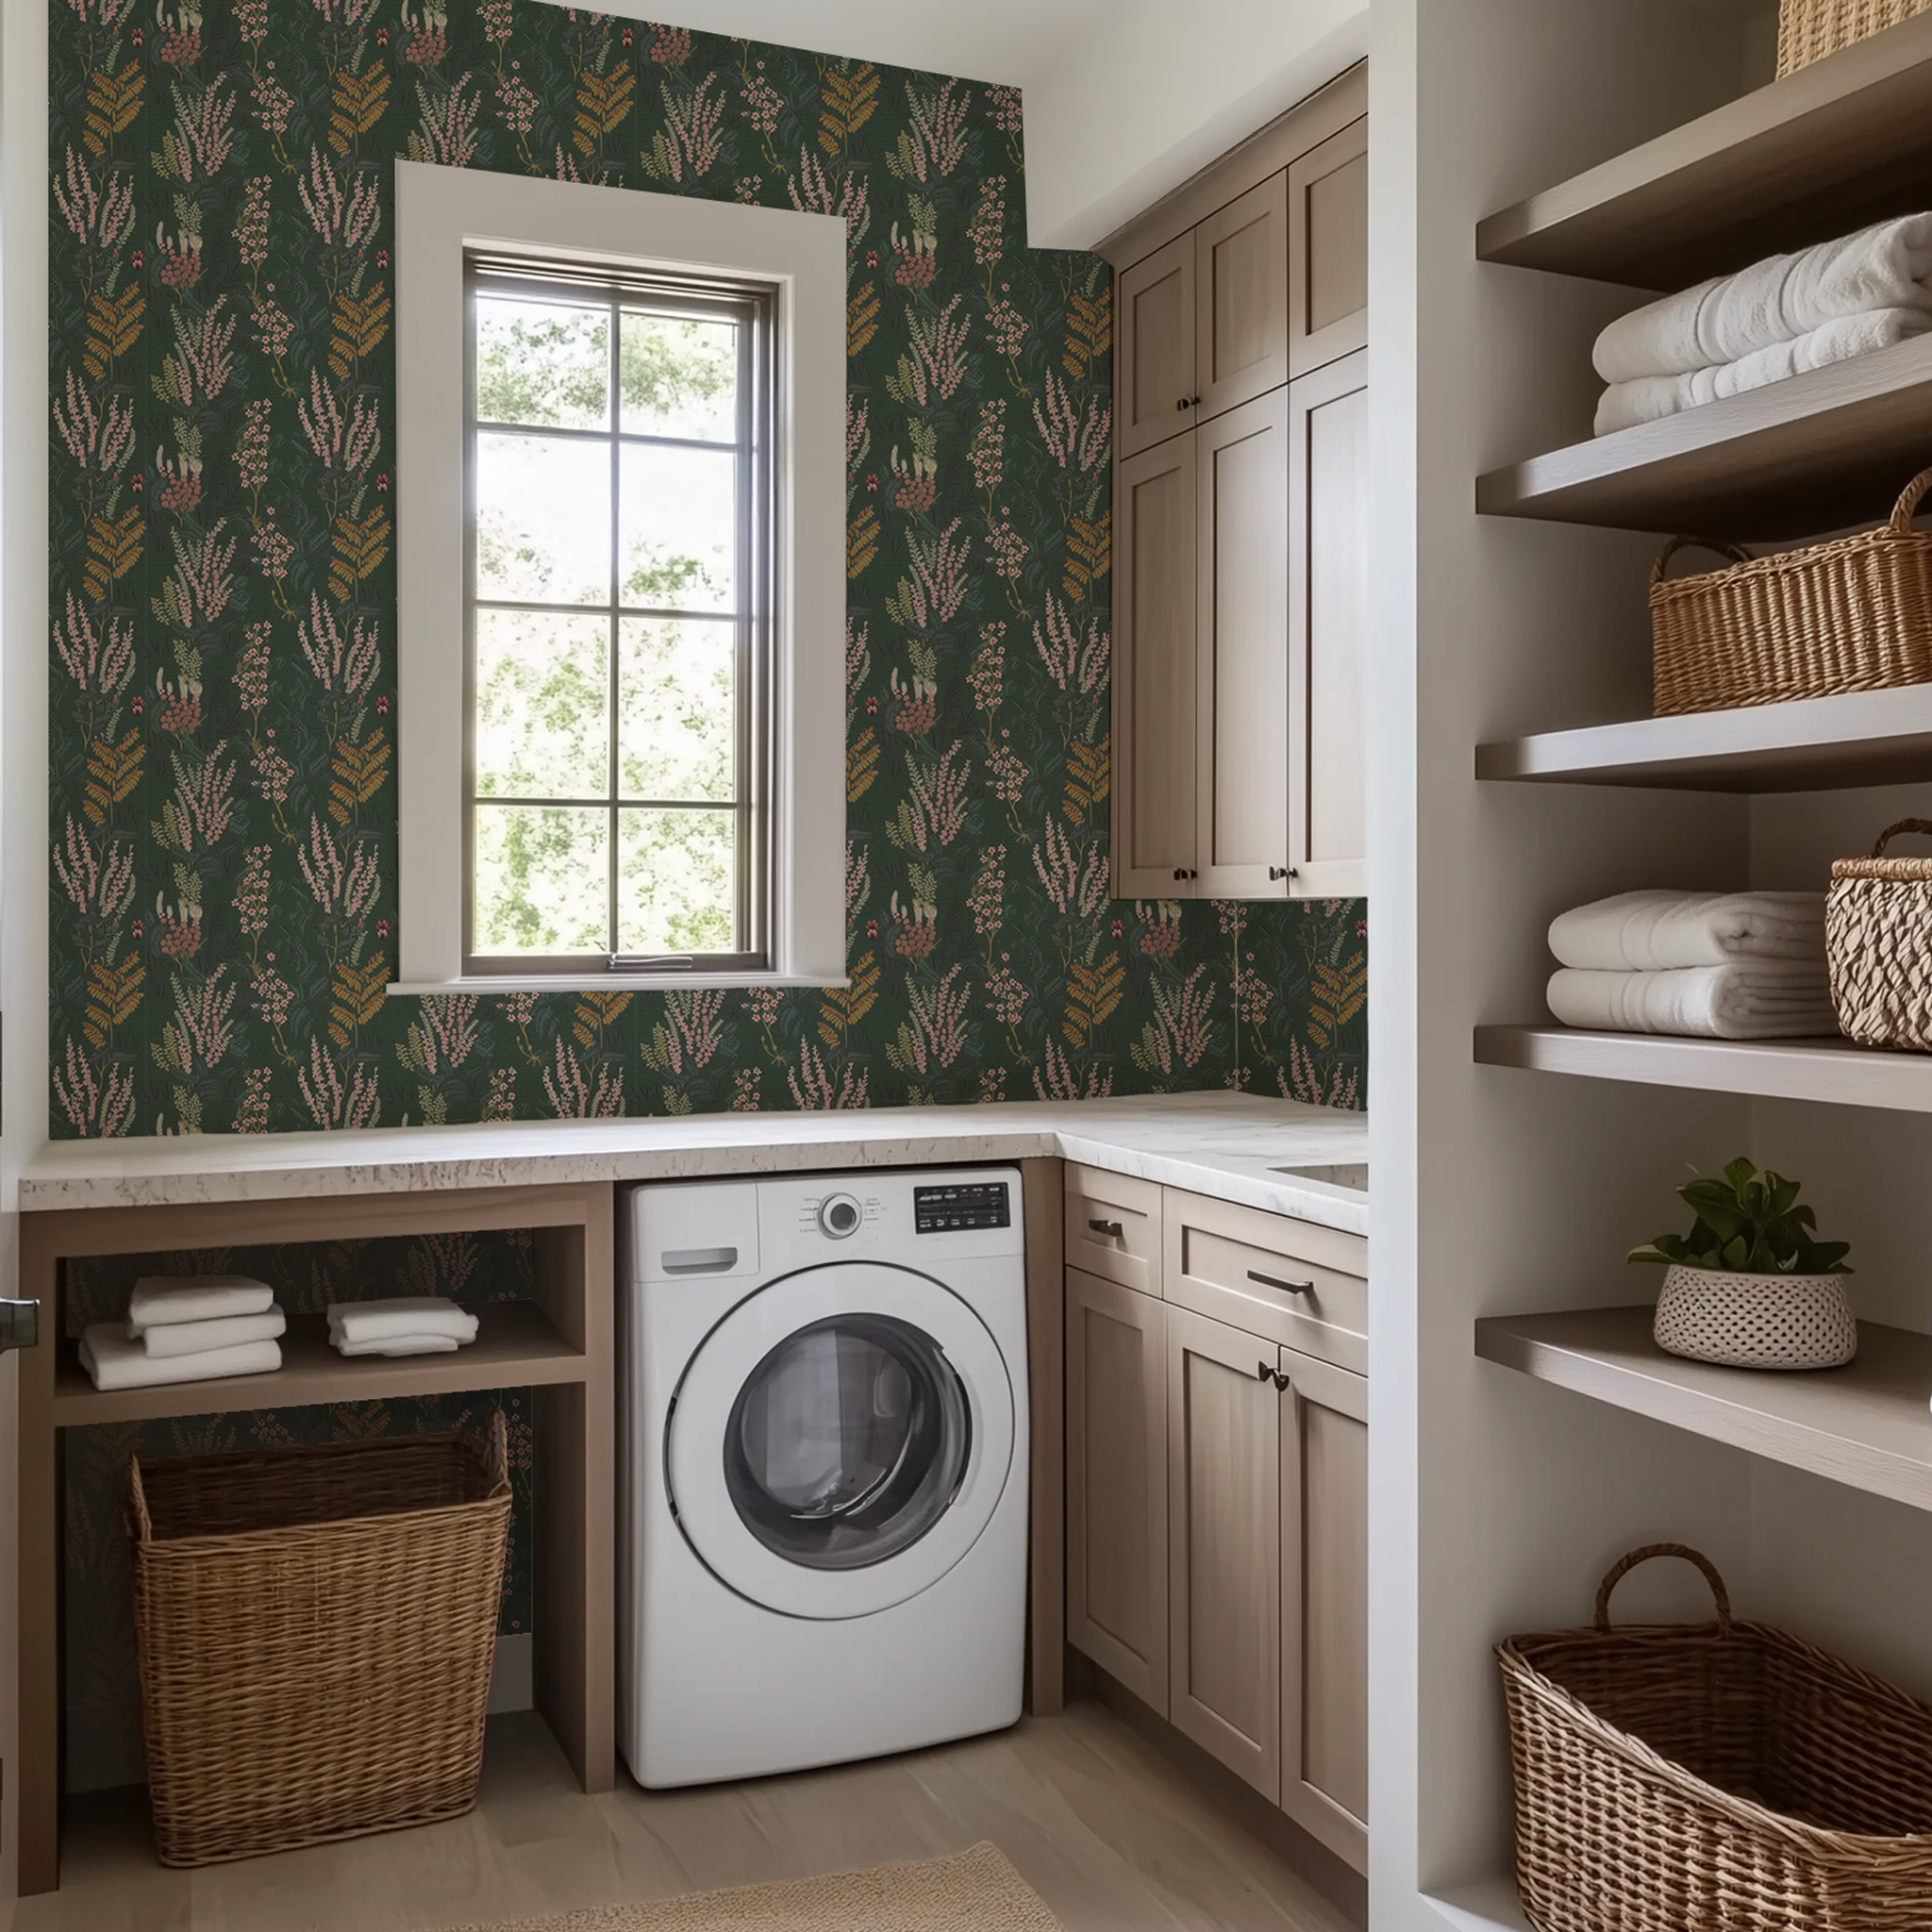
Our peel-and-stick wallpaper panels come in a range of versatile lengths, making them the perfect choice for any DIY project you have in mind.
Whether you're transforming an entire room or just adding a pop of color to a small space, our variety of panel sizes ensures that you'll find the perfect fit for your creative vision.
5. Install Your Peel-and-Stick Wallpaper
-
Find a Straight Starting Point: Begin by locating a level spot on your wall. This ensures your wallpaper goes on perfectly straight, avoiding any crooked angles.
-
Peel Off the Backing: Start by peeling about 10 inches (20 centimeters) of the paper backing from the top of the wallpaper panel.
-
Stick It On the Wall: Place the wallpaper at the top of your wall where you've found that level spot. Gently smooth it down from the top using a wallpaper smoother, working in 10-inch (20-centimeter) sections. Gradually peel off more backing as you go to avoid air bubbles and allow repositioning within 24 hours if needed.
-
Smooth It Out: Grab a wallpaper smoother to give your wallpaper a smooth finish and remove any air bubbles.
-
Add the Next Panel: Peel-and-stick wallpaper doesn't require overlapping since it won't shrink over time. Place the second panel right alongside the edge of the first panel, not on top of it.
-
Repeat the Process: Keep going with steps 1-5 until your whole wall is covered.
-
Trim Excess Material: Once all the panels are up, trim any extra material at the bottom of each panel to achieve a level look. Don't forget to cut around light switches and sockets.
- Give It a Final Smooth: For a secure bond, use a clean soft cloth to give the wallpaper one last smoothing. Do this again after 2 days and once more after 2 weeks to ensure your wallpaper stays perfectly in place.
Transforming your space has never been easier, thanks to the magic of peel-and-stick wallpaper! Whether you're looking to refresh a room's look or add a pop of personality, this DIY solution is your best friend. With no need for messy glues or professional help, you can confidently tackle your decorating dreams.
Simply choose your favorite design, follow a few simple steps to install peel-and-stick wallpaper, and watch as your space comes to life in no time. Say goodbye to bland walls and hello to a fresh, vibrant, and uniquely you environment, all without breaking a sweat!


