


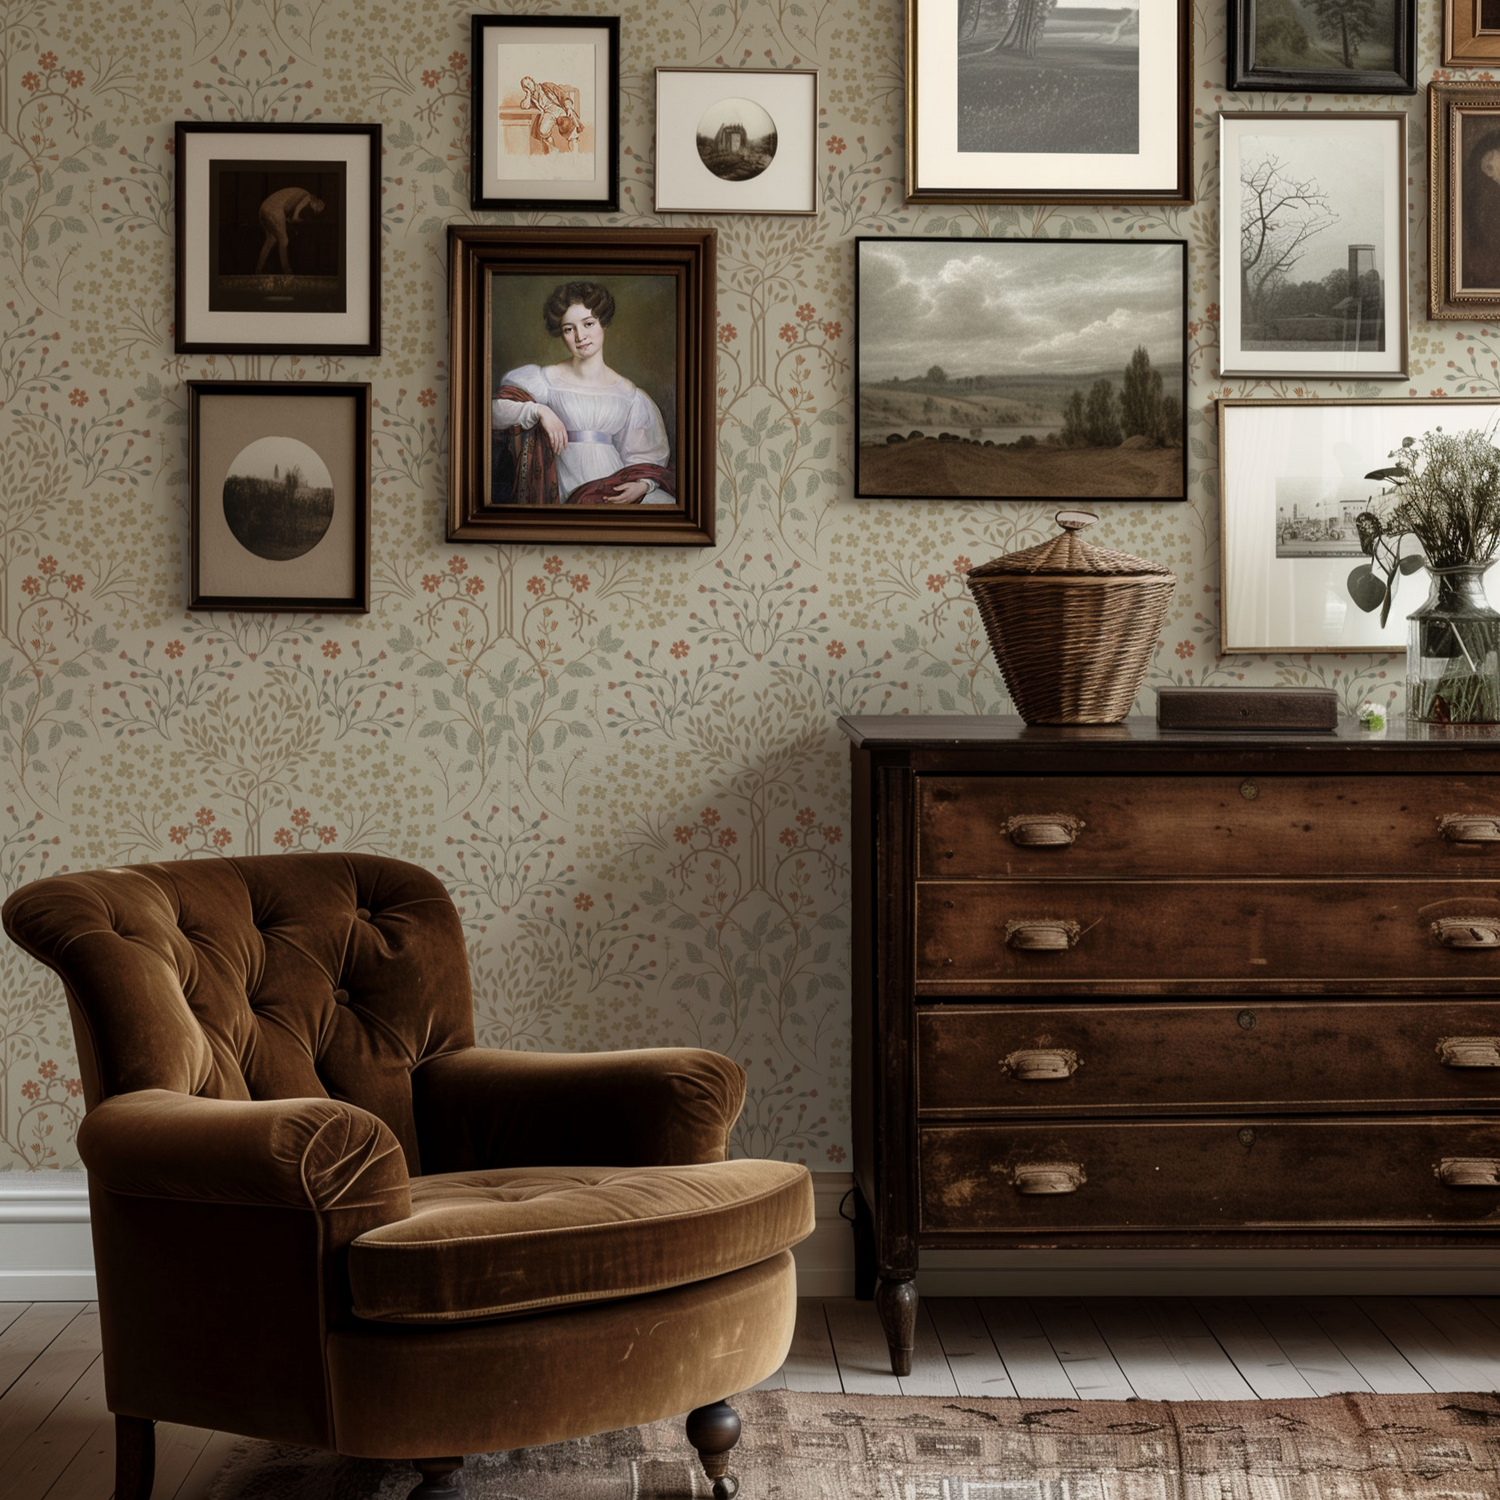
A Stroll Through Meadowbrook: Introducing Our New Wallpaper Collection
Discover the Meadowbrook Wallpaper Collection – a vintage countryside collection featuring peel and stick and traditional options in floral damask, toile, and woodland prints.

Printed to Order | Final Sale | Limited Returns: Please Order a Sample First
Important Note for Returning Customers: This design is now a bigger, better 30" wide. We have retired the smaller 19" width.
Couldn't load pickup availability
BUNDLE & SAVE ON WALLPAPER
Buy 2–4 → 5% off | Buy 5+ → 10% off
Bundle discount valid for both samples and full panels, applied automatically at checkout.
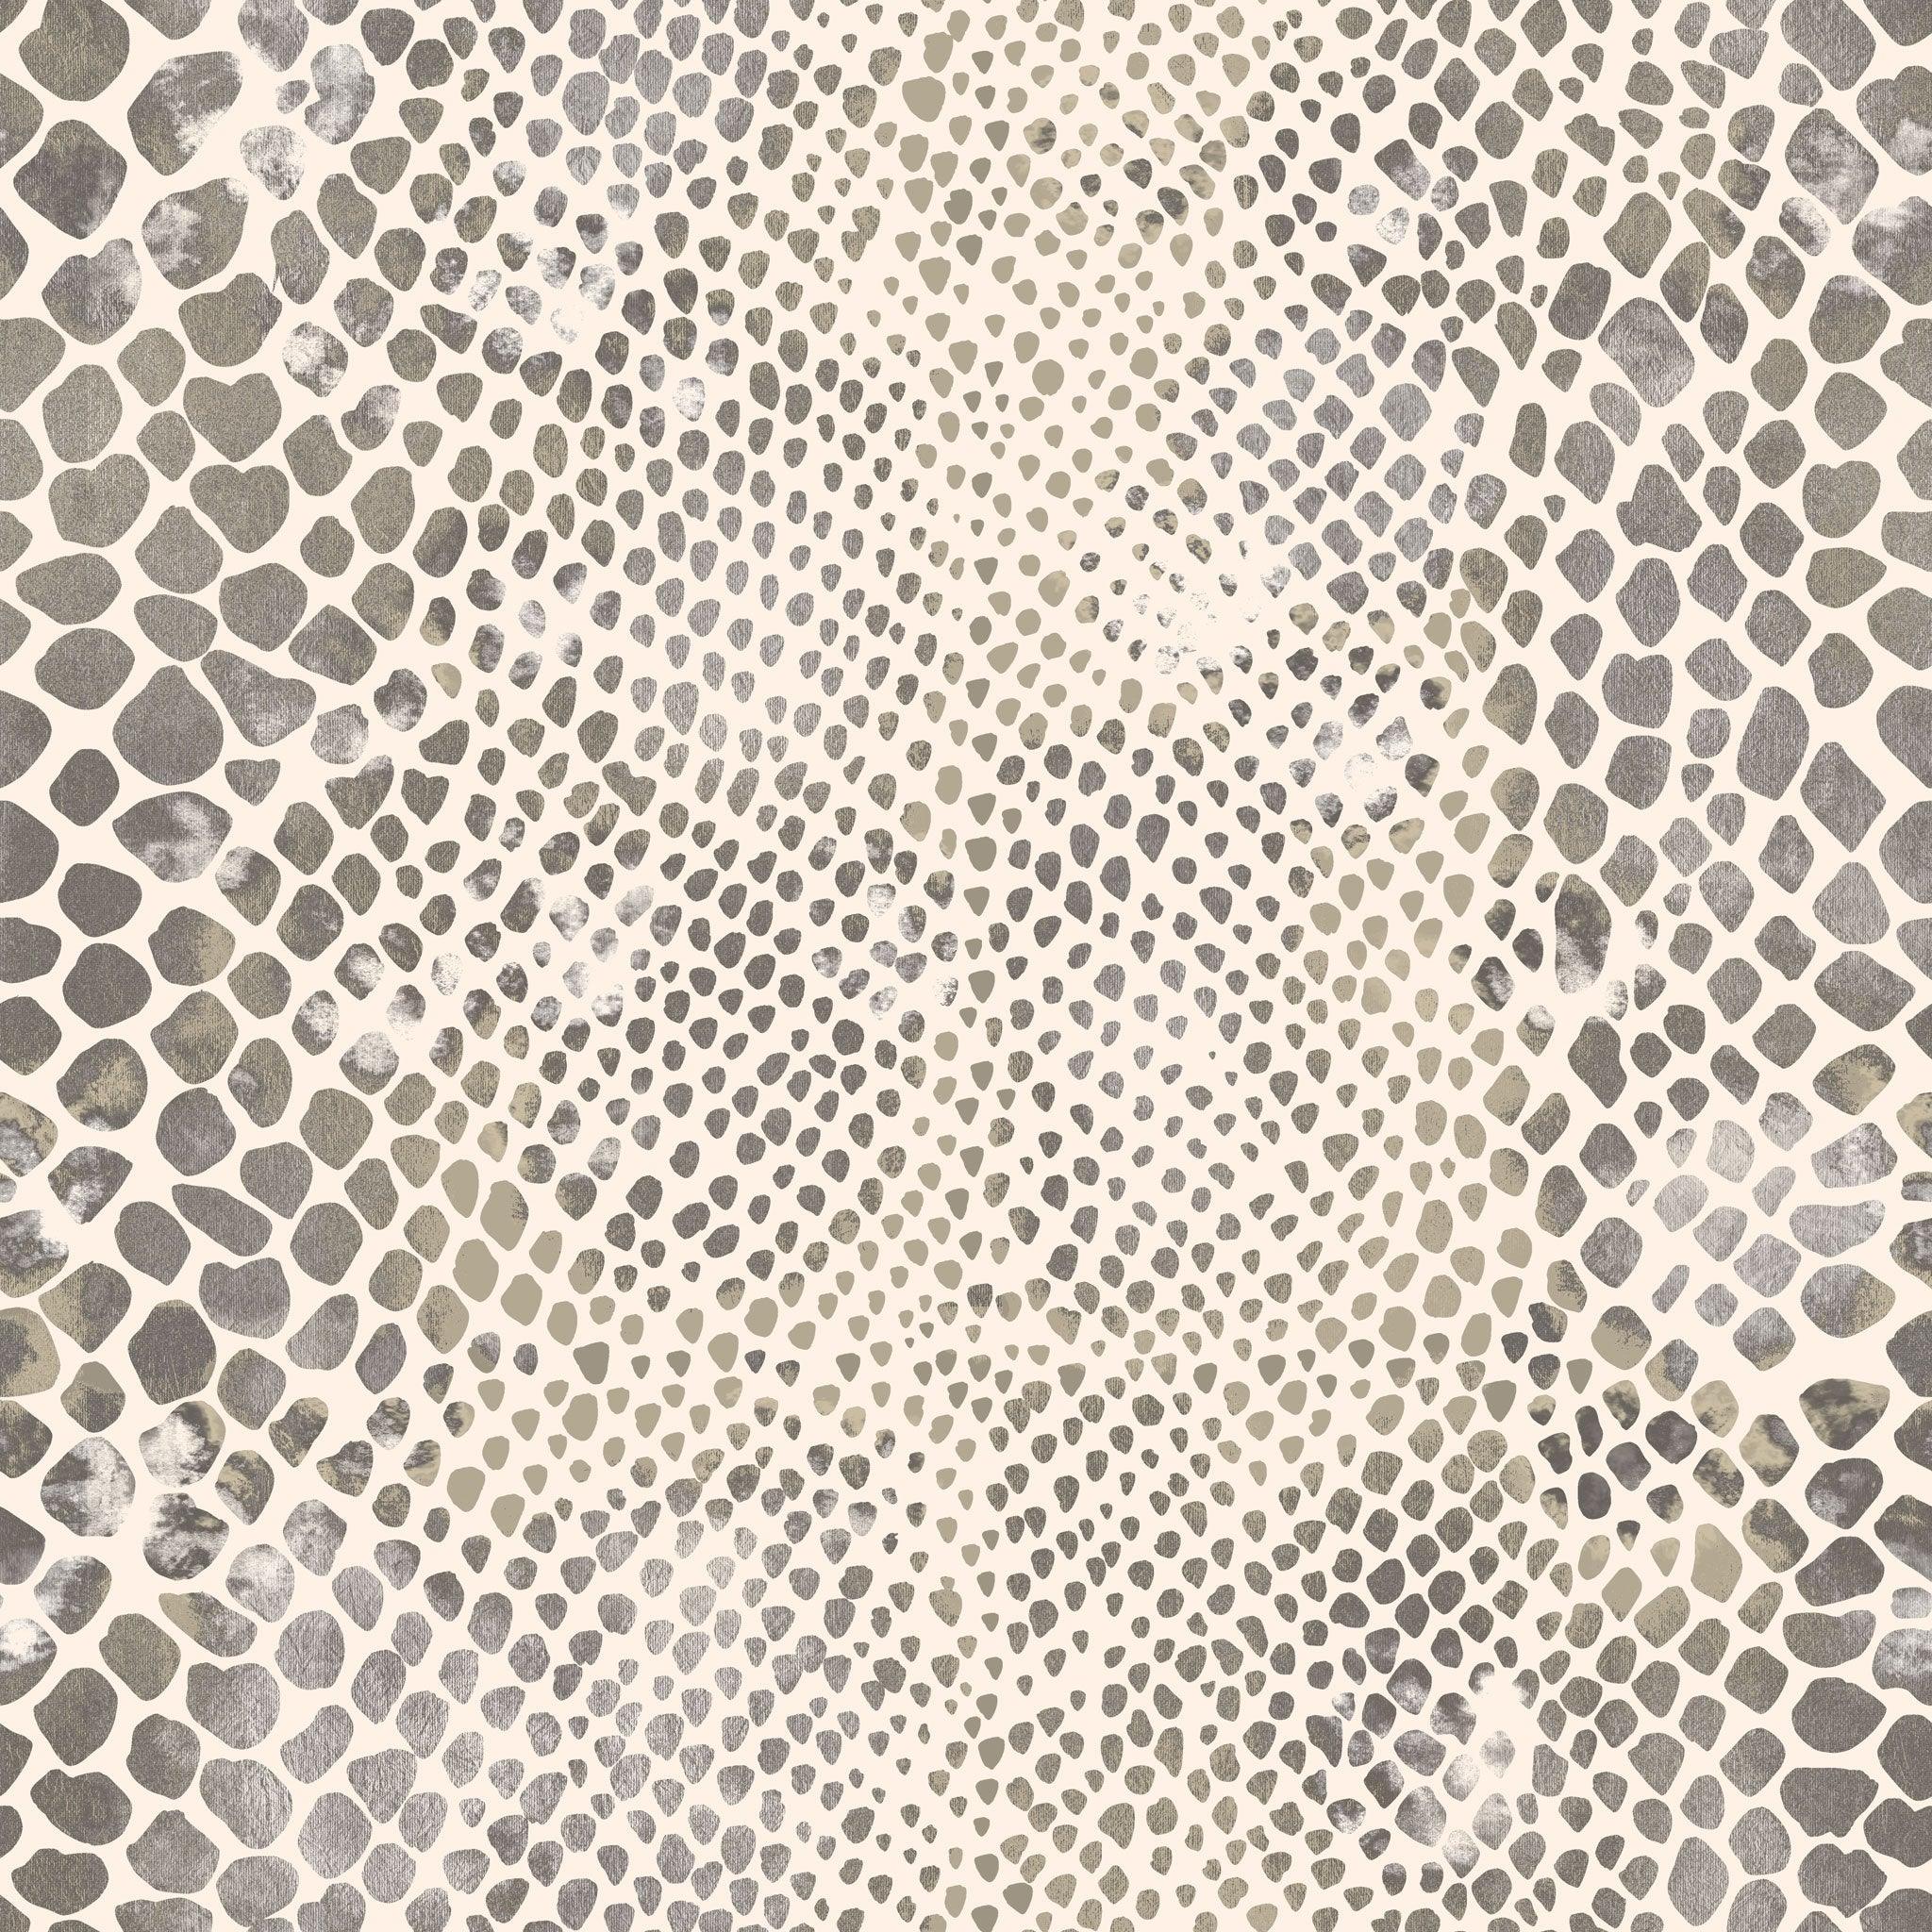
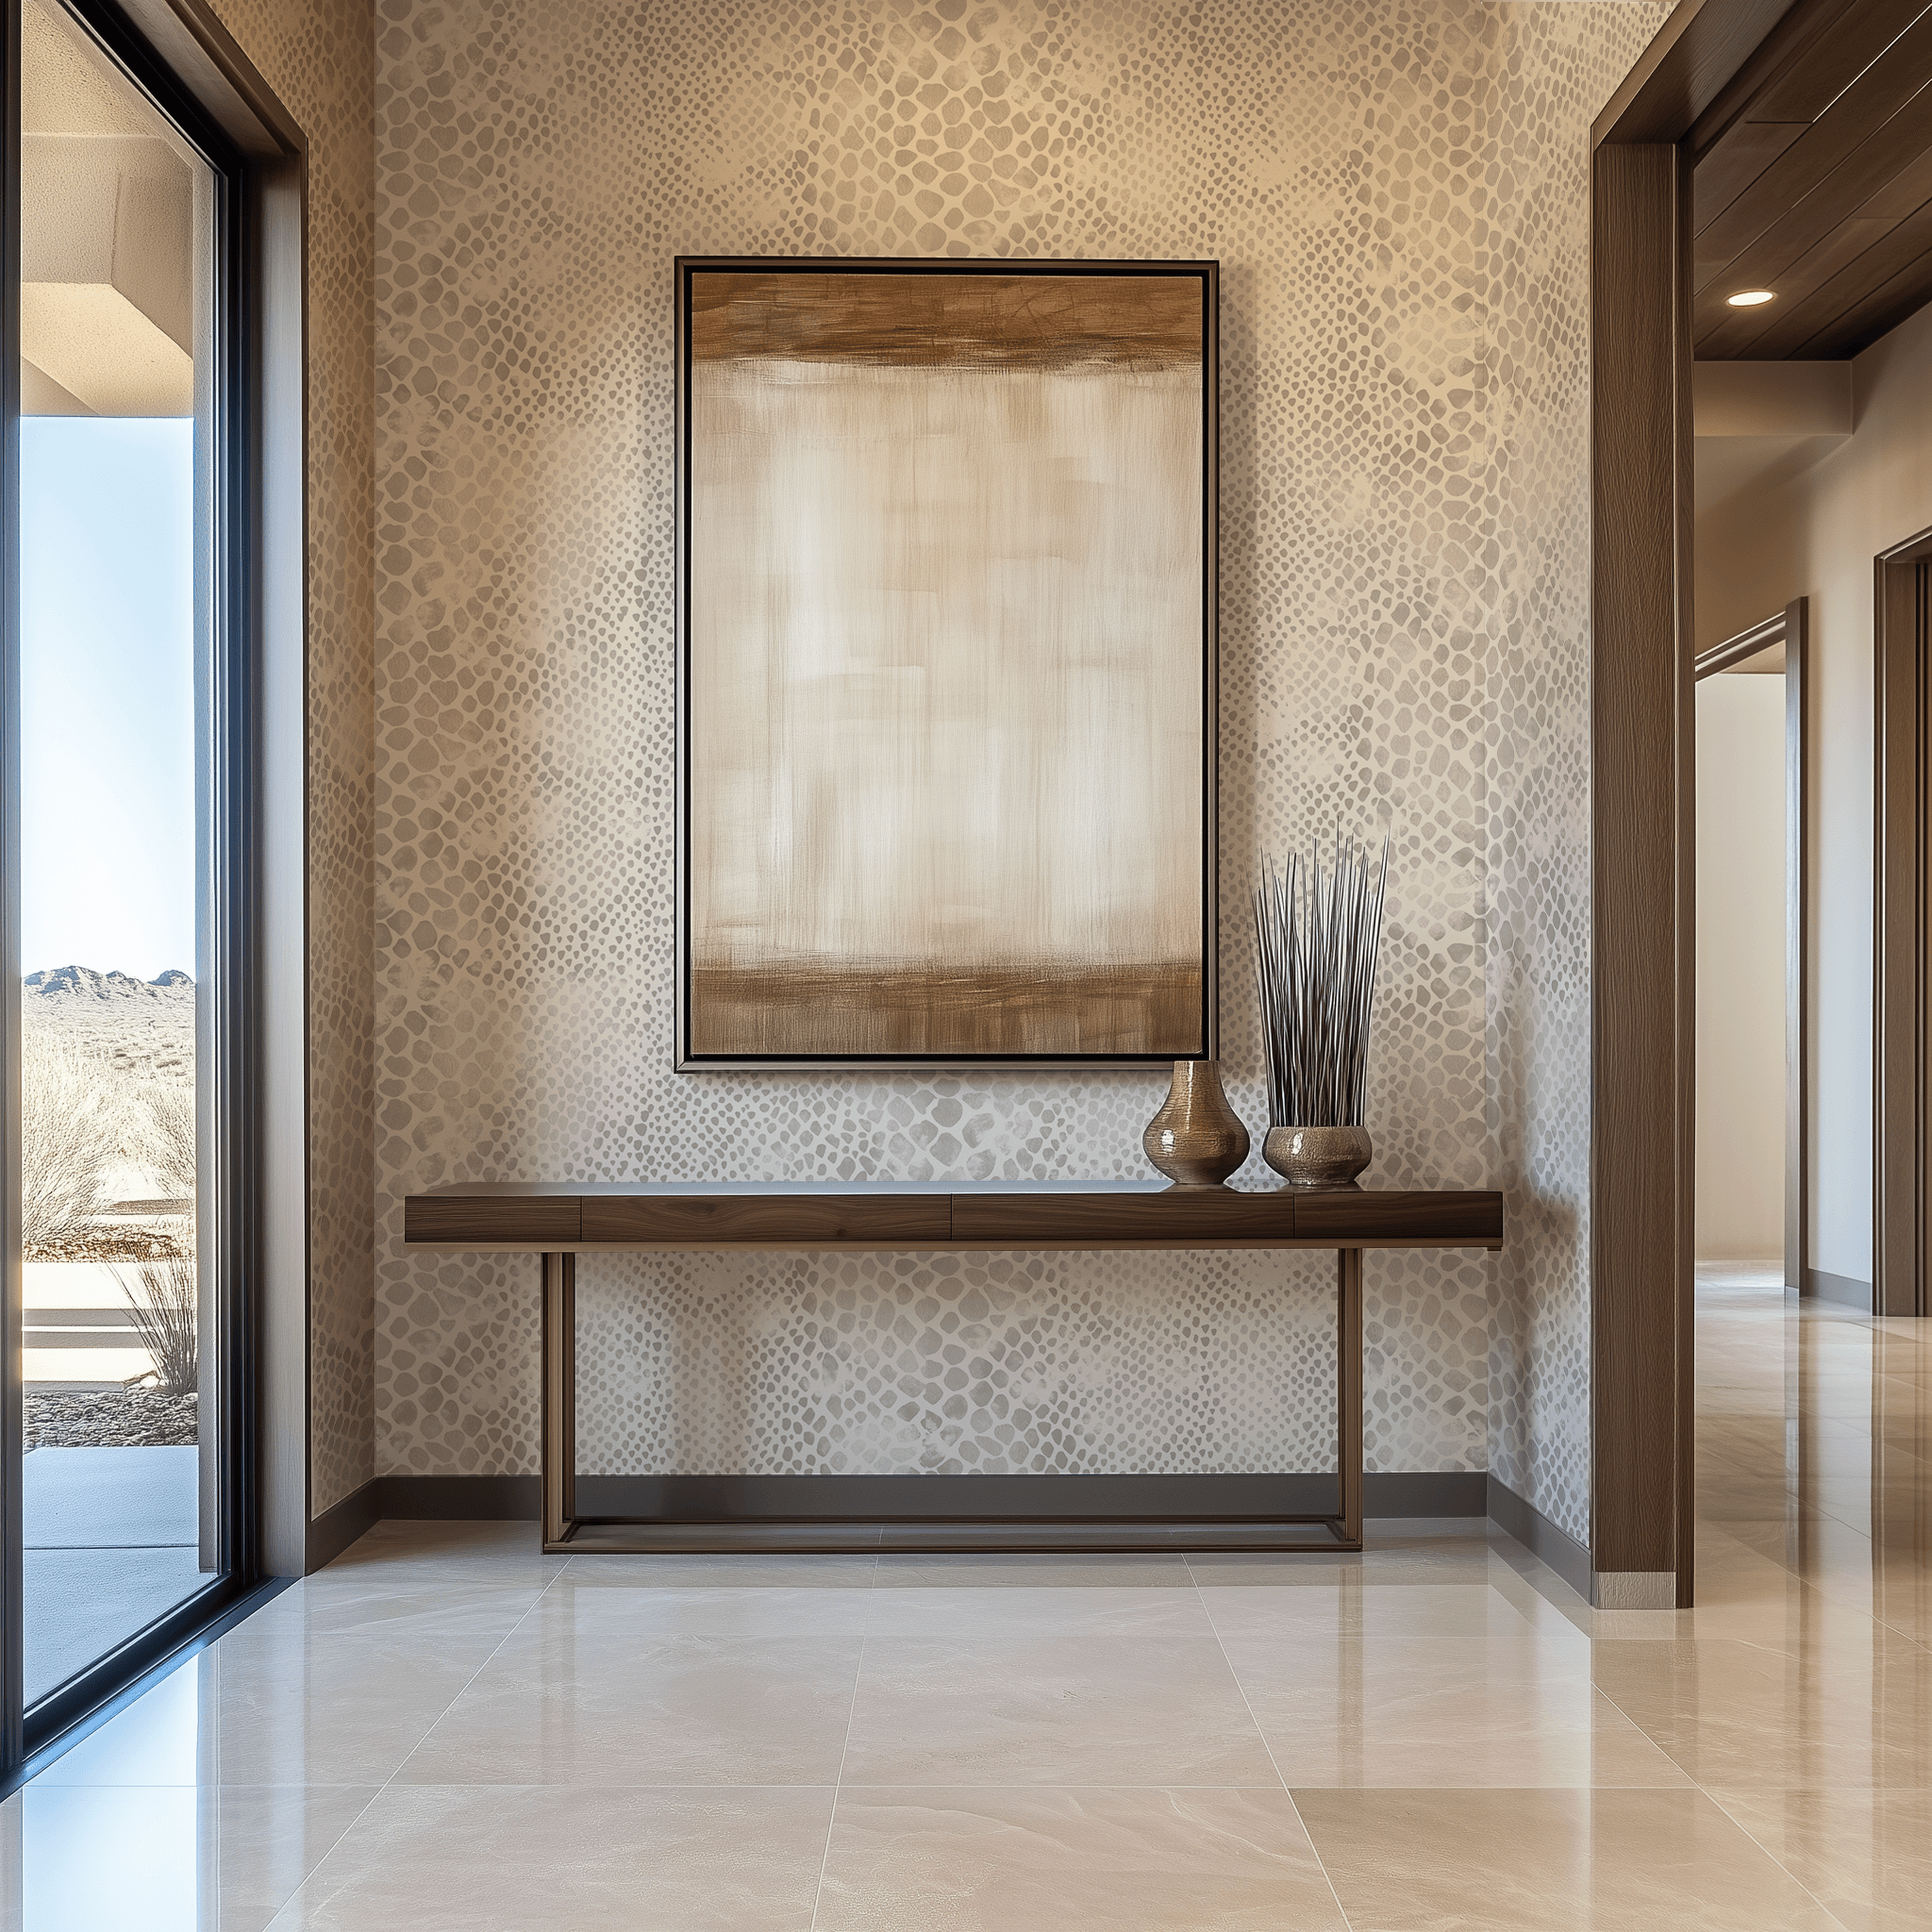
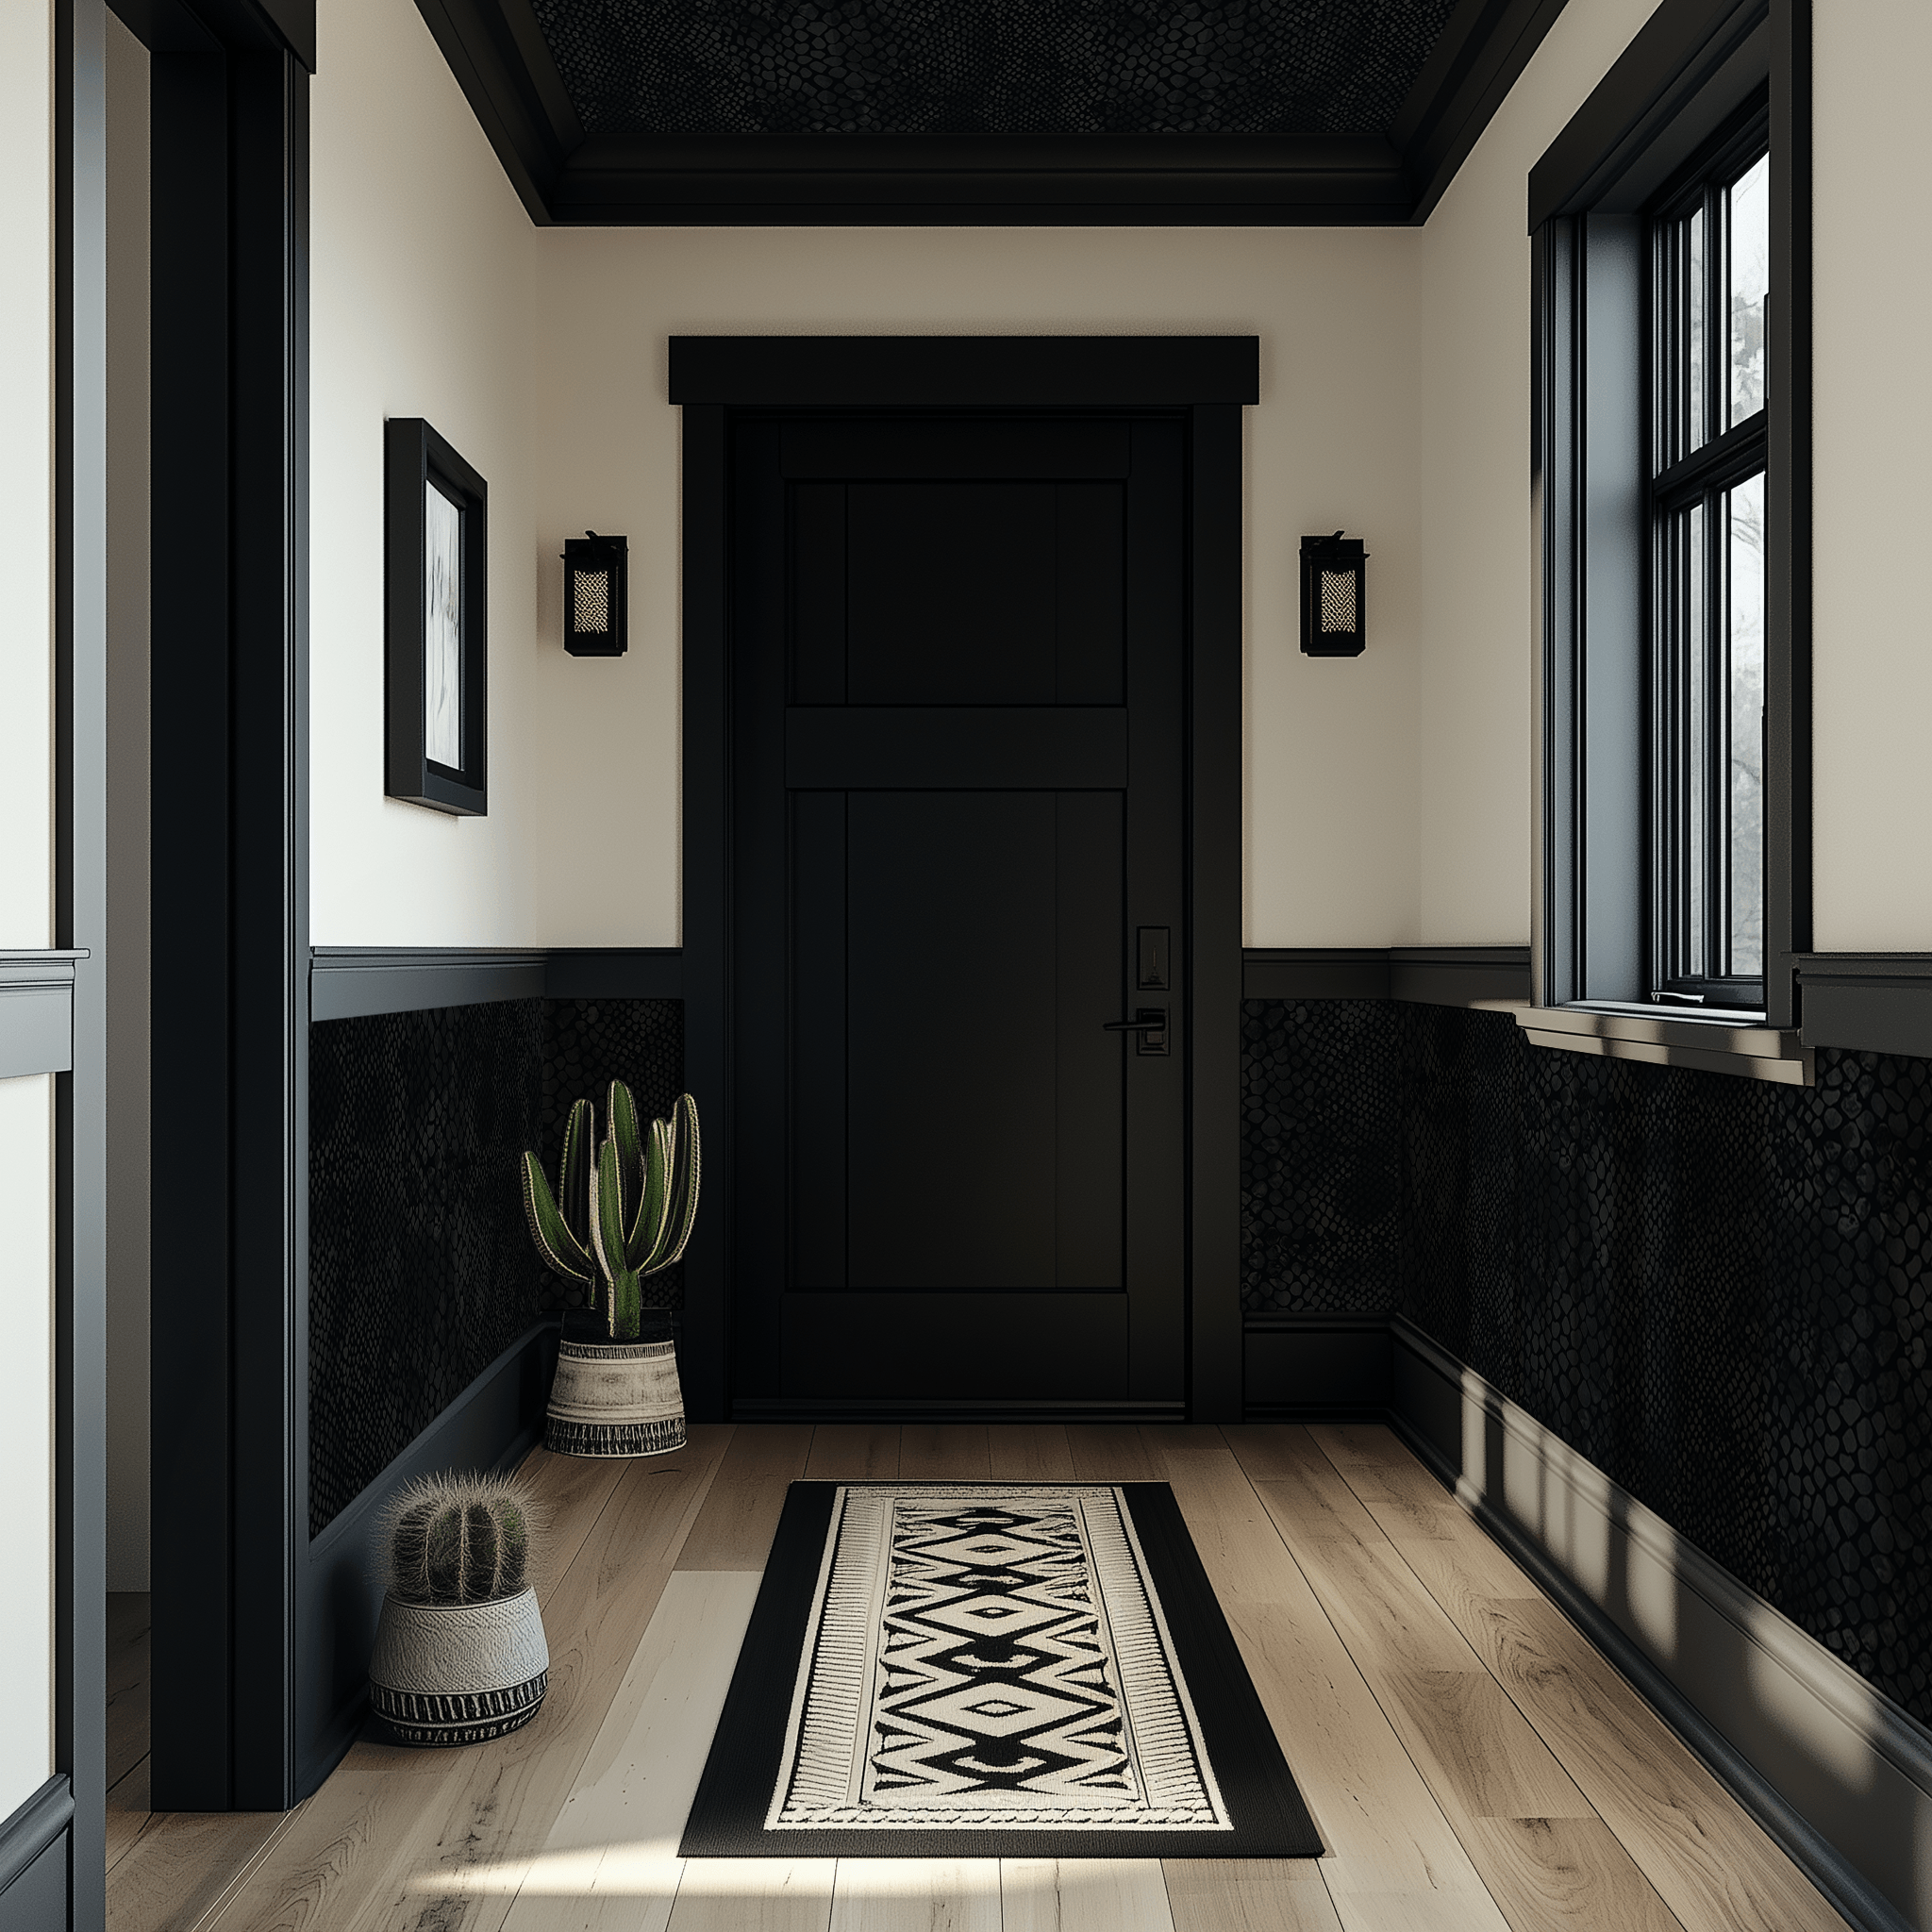
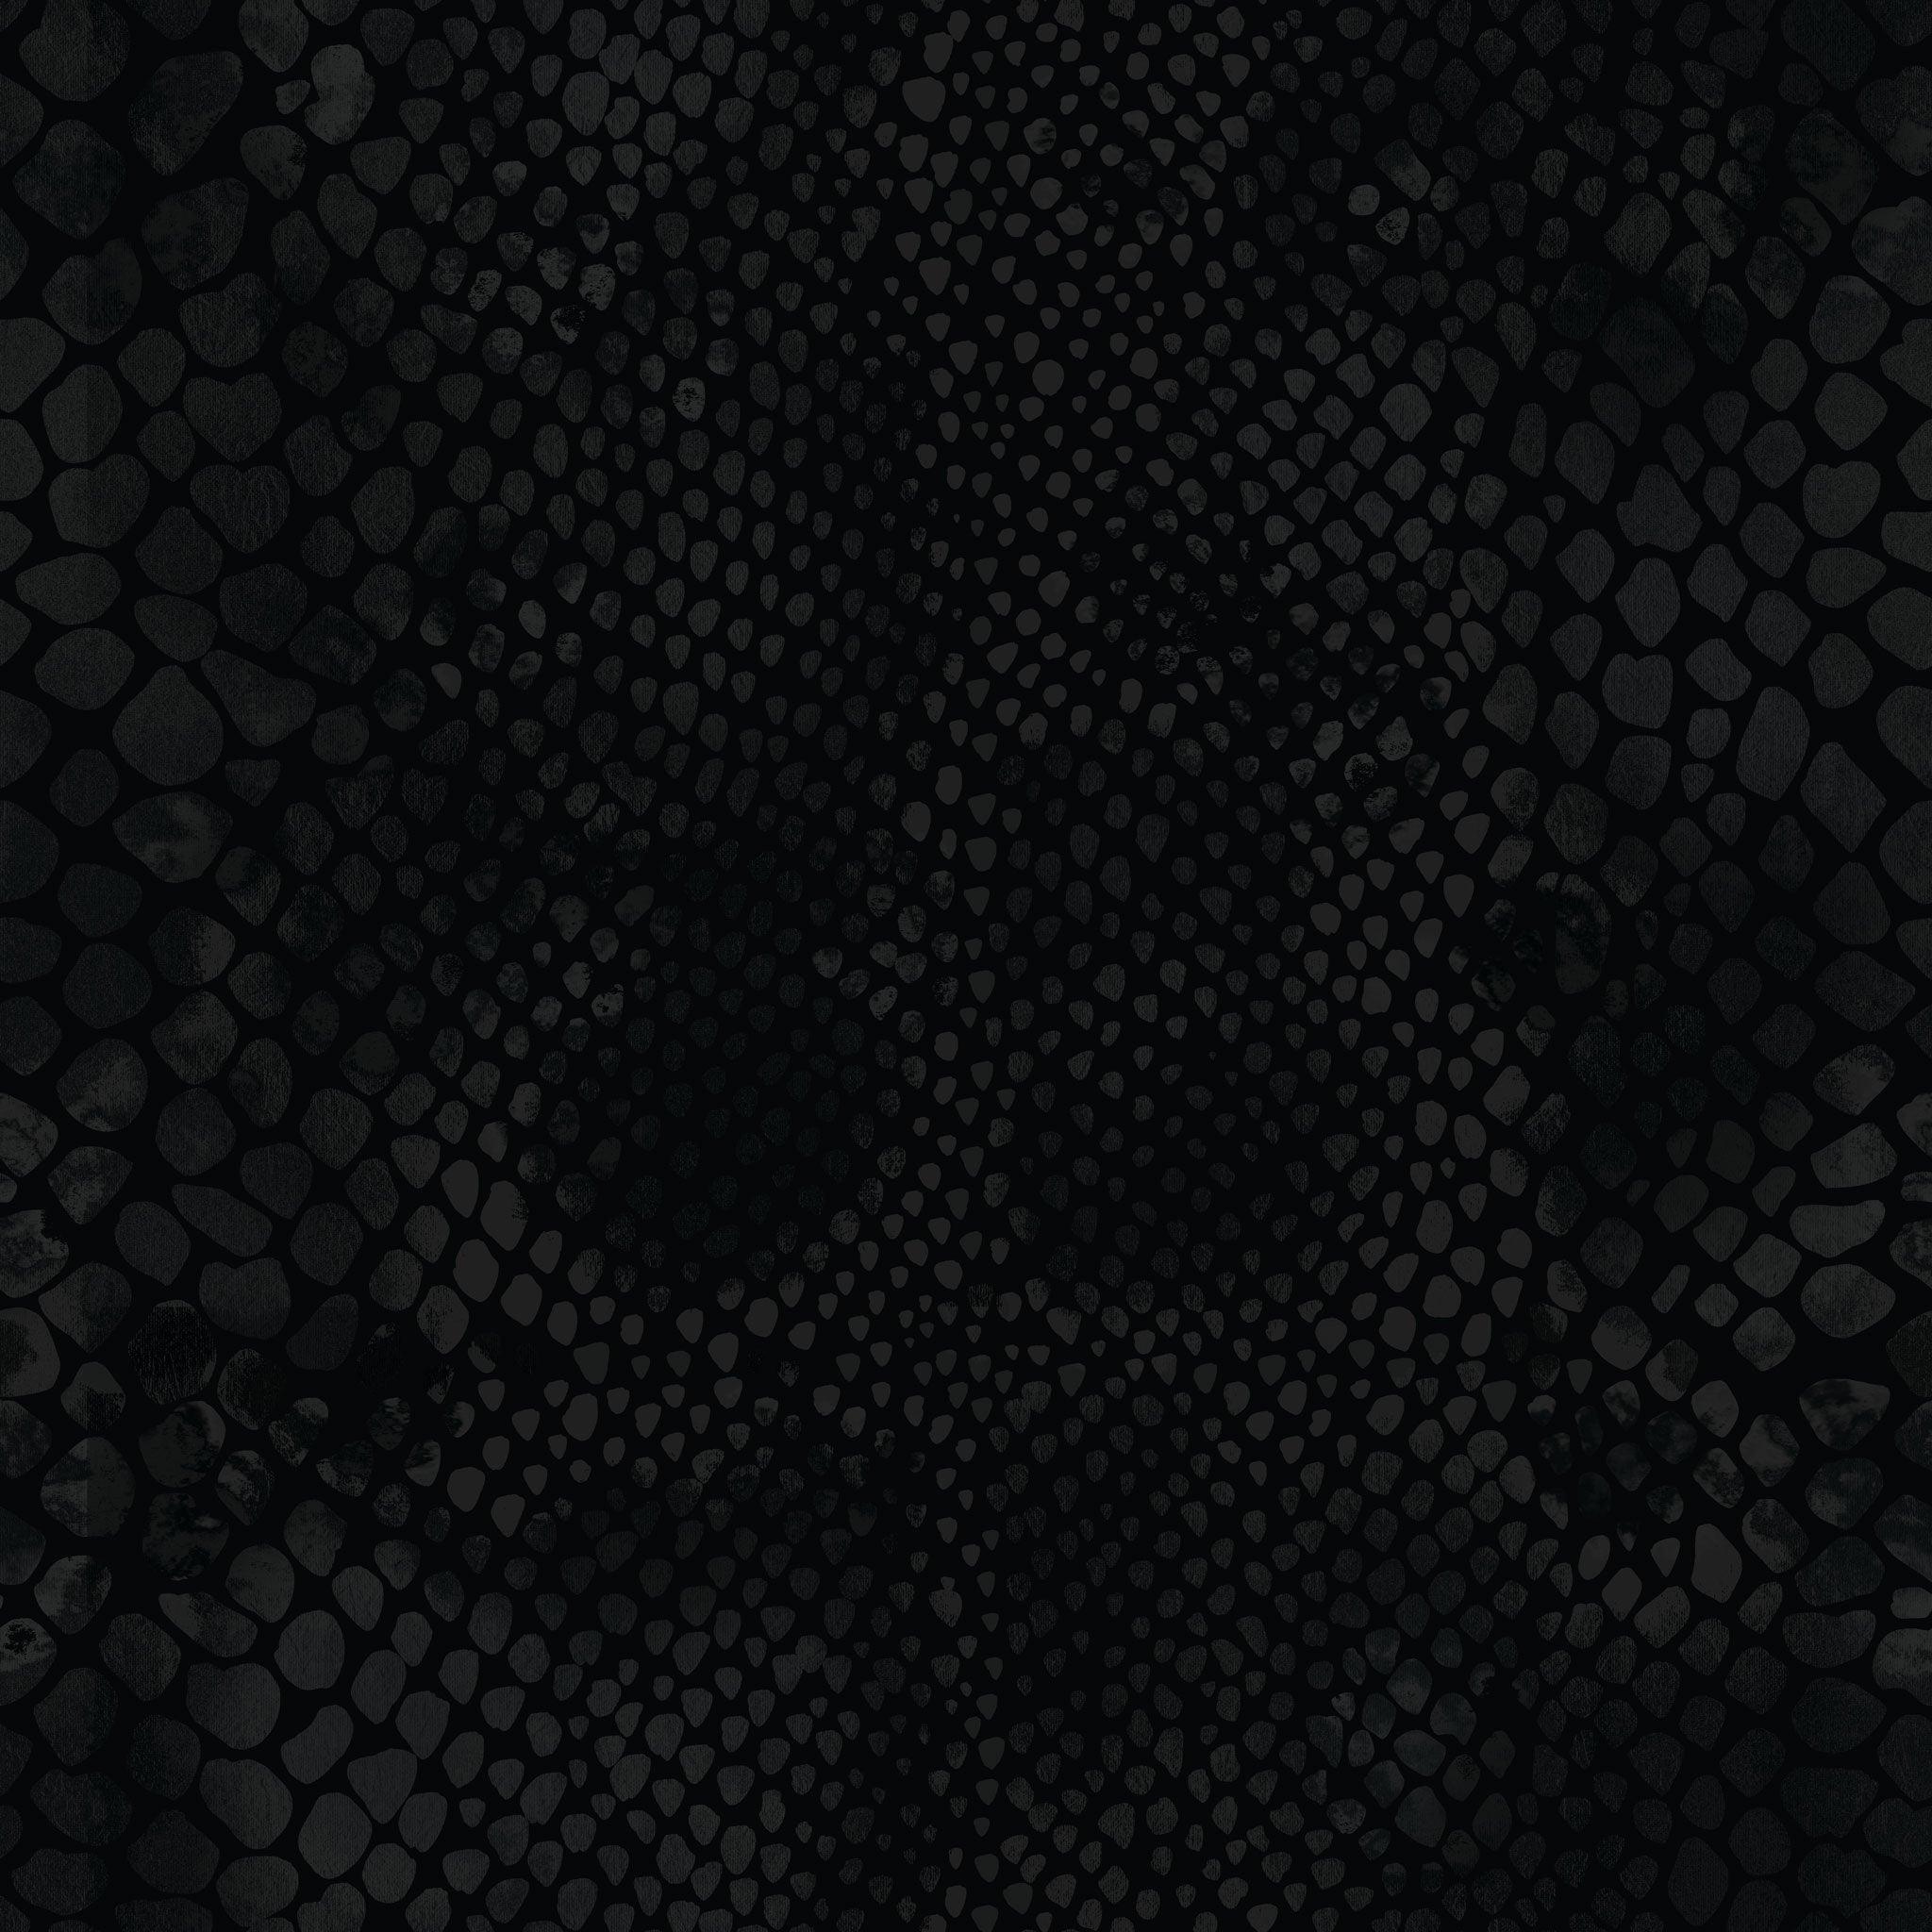
Elevate your space with the exotic yet sophisticated look of our Python Snakeskin Wallpaper in a neutral palette of grays, creams, taupe and and black. This striking design captures the natural beauty of python scales, offering a refined, textured aesthetic perfect for creating a chic statement wall or accenting entire rooms.
Available materials: Faux-linen peel-and-stick | Traditional non-pasted
Panel width: 30" | Pattern repeat: 30" square | Pattern match: Straight | No overlap required
Bigger, Better Samples—So You Can See the Full Picture
Our generously sized samples—19x19" or 20x30"—are printed on the exact same luxurious paper as our full panels. That’s up to 4x larger than the typical 8x10" sample you’ll find elsewhere, giving you a true sense of scale, colour, and quality before you commit.
Materials: Our peel-and-stick and non-pasted wallpapers are crafted with premium quality and sustainability at their core. Made with eco-friendly materials, our wallpapers are non-toxic, PVC-free, and printed using cutting-edge technology that ensures vibrant designs while minimizing environmental impact. With a focus on both style and safety, Huggleberry Hill wallpapers offer a luxurious, long-lasting, and planet-friendly option for transforming your space.
Production: Our expert manufacturing partners in Europe carefully print, quality check, and dispatch each order by express courier service. By printing to order, we minimize industry waste during production and installation, contributing to a healthier planet. This commitment to sustainability sets us apart from traditional wallpaper brands.
Samples First: We strongly recommend purchasing and testing samples before committing to a larger order of full panels as we offer limited returns. This step will ensure suitability to your walls/surfaces and that your chosen design meets your aesthetic and technical expectations.
Dye Lots: Our wallpaper is produced in batches, and colors may vary slightly between print runs. For the best color match, we recommend ordering all the panels you need at the same time. We can’t guarantee an exact match for orders placed separately.
Seams: Please note that seams on both light and dark wallpapers are not totally invisible, hence testing samples is the way to go to ensure it meets your personal preferences.
Please review our Returns Policy before making your purchase.
Should you have any queries, please contact our Customer Care Team.
To ensure the perfect fit for your space, we strongly recommend ordering a sample first before placing a full order.
We do not offer exchanges, returns, or refunds for reasons of color or pattern preference, installation issues, or wall suitability.
For full details, please view our RETURNS POLICY
We offer free shipping on orders of $100+. For orders under $100, shipping fees cover priority courier services from our European production partners to ensure fast, secure delivery.
To reduce industry waste, all our wallpapers are printed to order, and all sales are final. Production takes 2-7 business days, with shipping estimated at 2-5 business days afterward. Delivery times may vary, especially during holidays.
Have questions? Our Frequently Asked Questions (FAQs) section can provide you with quick answers to common product queries.
Our comprehensive FAQs cover a wide range of topics, ensuring that you can get the information you need quickly and easily.
Don't see your question listed? No problem! Simply reach out to our customer support team, and we'll be happy to assist you further.


About Peel-and-Stick Wallpaper
TECHNICAL:
APPLICATION:
CERTIFICATION:
About Non-Pasted Wallpaper
TECHNICAL:
APPLICATION/REMOVAL:
CERTIFICATION:
How to Choose Wallpaper Type
Our peel-and-stick and non-pasted wallpapers have a luxurious thickness that can hide a multitude of flaws on surfaces.
Please consider these factors to help you choose which wallpaper type is best for your space:
Please consider these factors before choosing your wallpaper type and installation:
Surface Texture and Condition: Ensure the wall surface is smooth and free of imperfections. Our wallpaper adheres best to smooth surfaces, so if your wall has a slight texture or imperfections, priming might be necessary to create a more even base. We have also tested it successfully on lightly textured walls such as knockdown and orange peel.
Cleanliness: The wall should be clean and free from dust, grease, and other contaminants. Any dirt or residue on the wall can hinder the adhesive's ability to bond properly.
Paint Type: Consider the type of paint on the wall. If the wall is painted with a gloss or semi-gloss finish, the wallpaper adhesive may have difficulty sticking. Matte or satin finishes tend to work better. For best results, always use a wallpaper primer over your paint.
Wall Material: Different wall materials may require different approaches. While our wallpaper adheres well to smooth drywall, it might struggle with certain surfaces like heavily textured walls, brick, or wood paneling.
Long-Term Goals: Consider how long you plan to keep your wallpaper in place. If it's a short-term solution or if you anticipate changing it frequently, our peel-and-stick option is ideal.
To help you make informed decisions before purchasing full-length panels, it's a good idea to test a sample first. This allows you to assess potential issues for your particular wall type before completing the entire installation.
How to Test A Sample
You may be eager to get your home transformation underway, however, testing samples is an essential step to ensuring you've chosen the right wallpaper for your space before you make a bigger purchase.
PEEL & STICK:
1. Testing a sample of Peel & Stick Wallpaper: You can either apply the sample directly to the wall or tape the sample in place with painters tape.
To test the peel & stick sample by adhering it directly to the wall, we recommend using a wallpaper primer on your test area first. Slowly peel back the backing paper, smoothing downwards as you stick and slowly releasing more of the backing paper. To safely remove the sample when testing is over, gently and slowly peel it off from the edge at a 45 degree angle. Use a hairdryer to loosen the adhesive if you encounter stubborn spots.
To test the peel & stick sample without adhering it to the wall, use pieces of painters tape on each corner of the sample and stick it to the wall for a quick preview.
NON-PASTED:
2. Testing a sample of Non-Pasted Wallpaper: This type of wallpaper requires paste for installation and is intended to be a more permanent fixture.
To test the non-pasted sample without pasting it to the wall, use pieces of painters tape on each corner of the sample and stick it to the wall. This will give you a quick preview without permanence.
Note: Our wallpaper is shipped rolled. To flatten out your samples, remove them from the packaging and place them flat for 2 - 6 hours. Use weighted items like books in the corners to help them return to their original shape.
Why You Should Prime Your Walls
We recommend applying a wallpaper primer to your walls before installation of our wallpapers.
For best results and smoother installation and removal, always apply a wallpaper primer, especially on bare drywall. Wallpaper primers can be purchased from your local DIY store, and include items such as Roman PRO-977 Ultra Prime®.
Priming your walls before installation will ensure a smoother surface for the wallpaper to adhere to and helps in positioning and adhesion. As all walls and paint types are different, this step will provide the ideal surface to apply your wallpaper. It is an especially important step for renters as it drastically reduces the chances of any paint damage to walls on removal.
Please note: Since we cannot assure the condition of your walls and surfaces, Huggleberry Hill holds no liability for any damage that may occur to them during the installation and removal of our wallpaper samples and full panels.

At Huggleberry Hill, our wallpapers are made for real homes with heart.
Available in our signature faux-linen peel & stick and traditional non-pasted paper, both options are certified eco-friendly, non-toxic, and safe for any environment.
Every pattern is thoughtfully inspired by heritage design and printed to order for a fresh, sustainable approach to home decor.
Discover the Meadowbrook Wallpaper Collection – a vintage countryside collection featuring peel and stick and traditional options in floral damask, toile, and woodland prints.
Explore the pros and cons of peel and stick versus traditional non-pasted wallpaper. Find the perfect match for your style and ease of application.